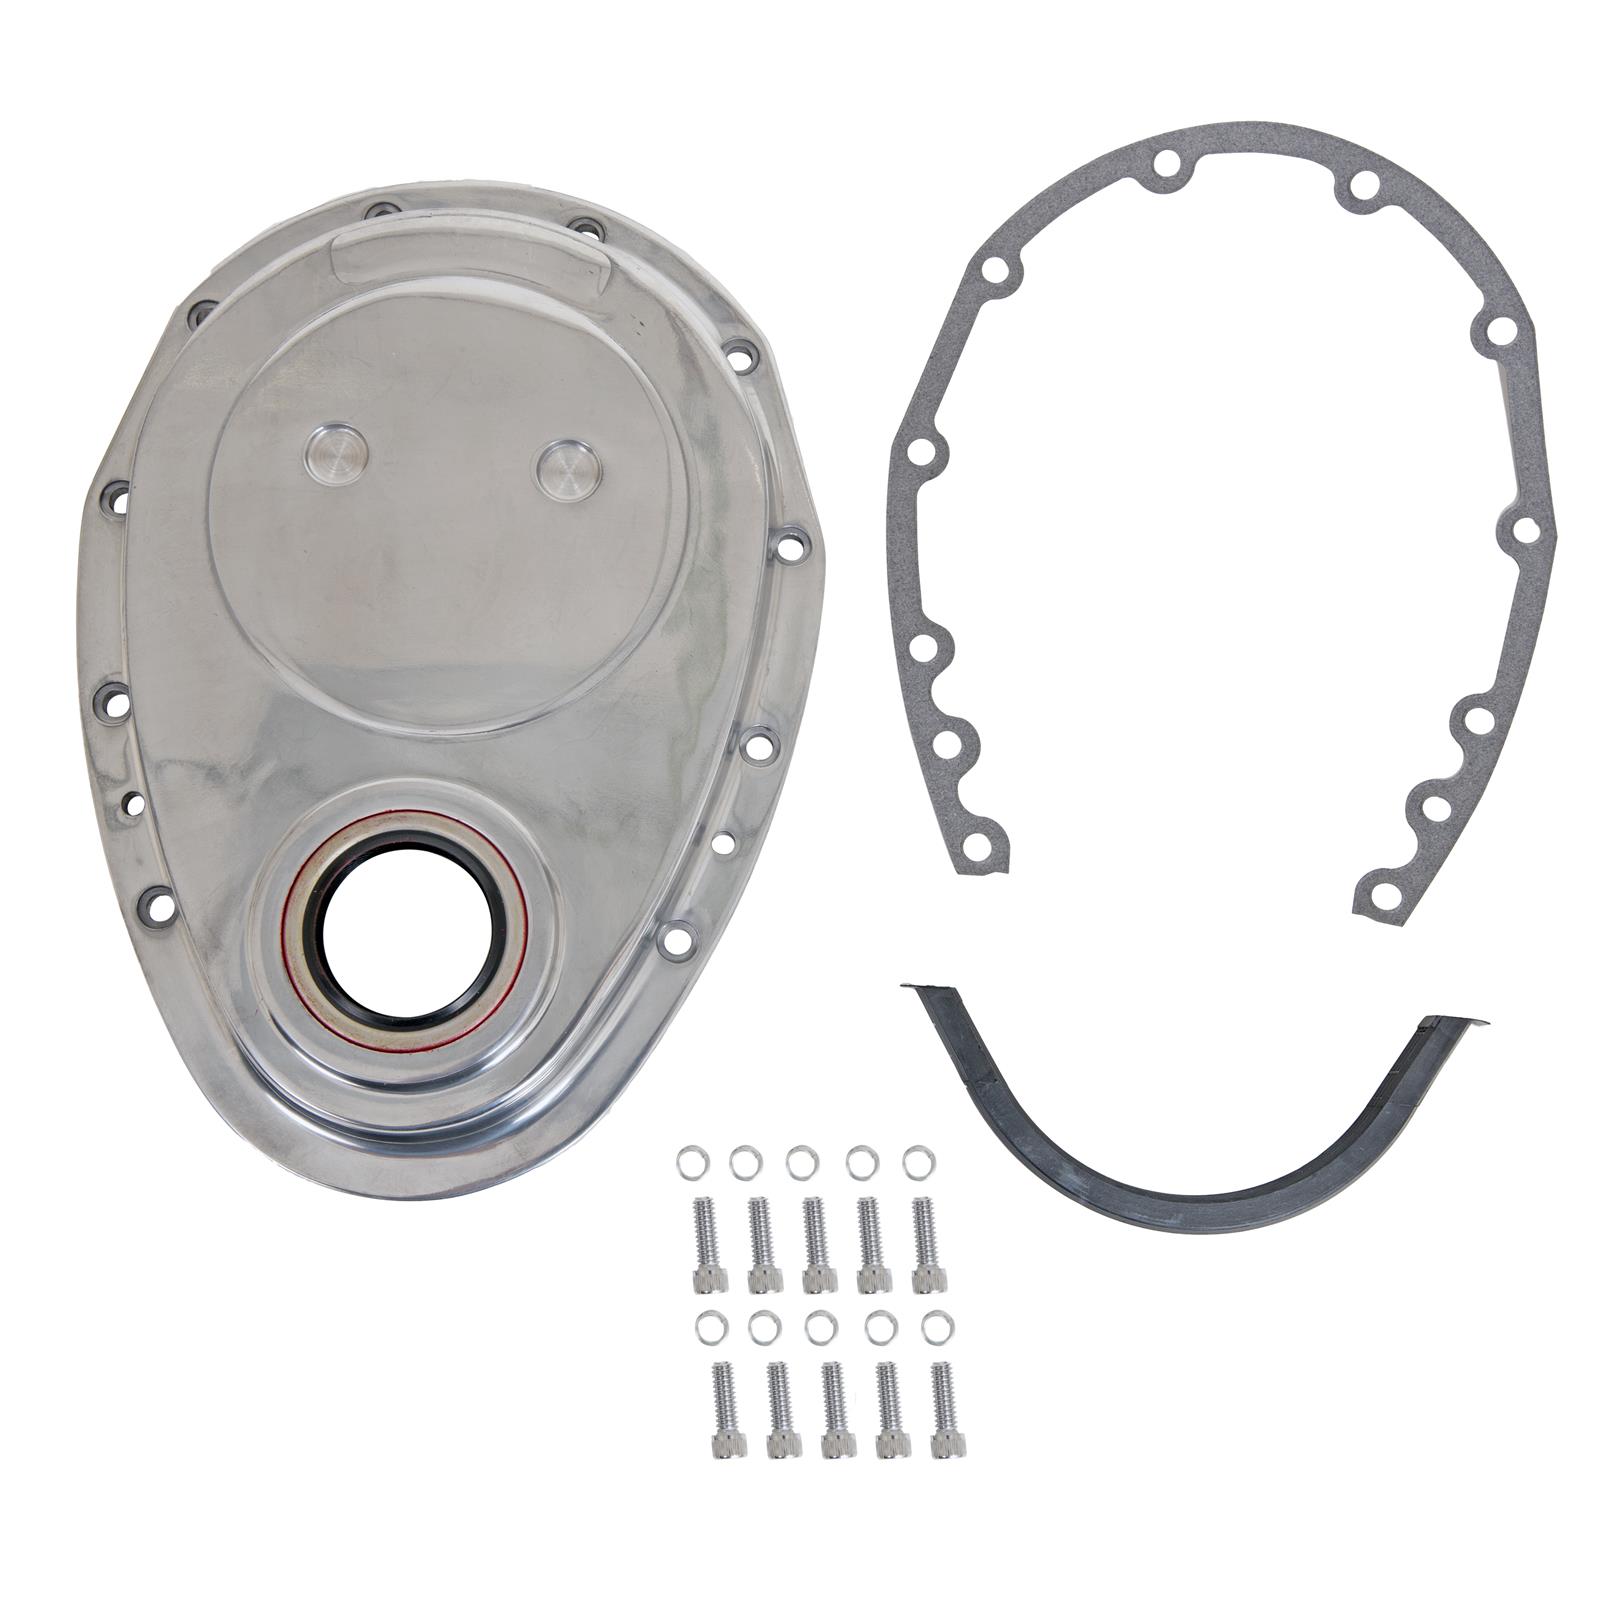
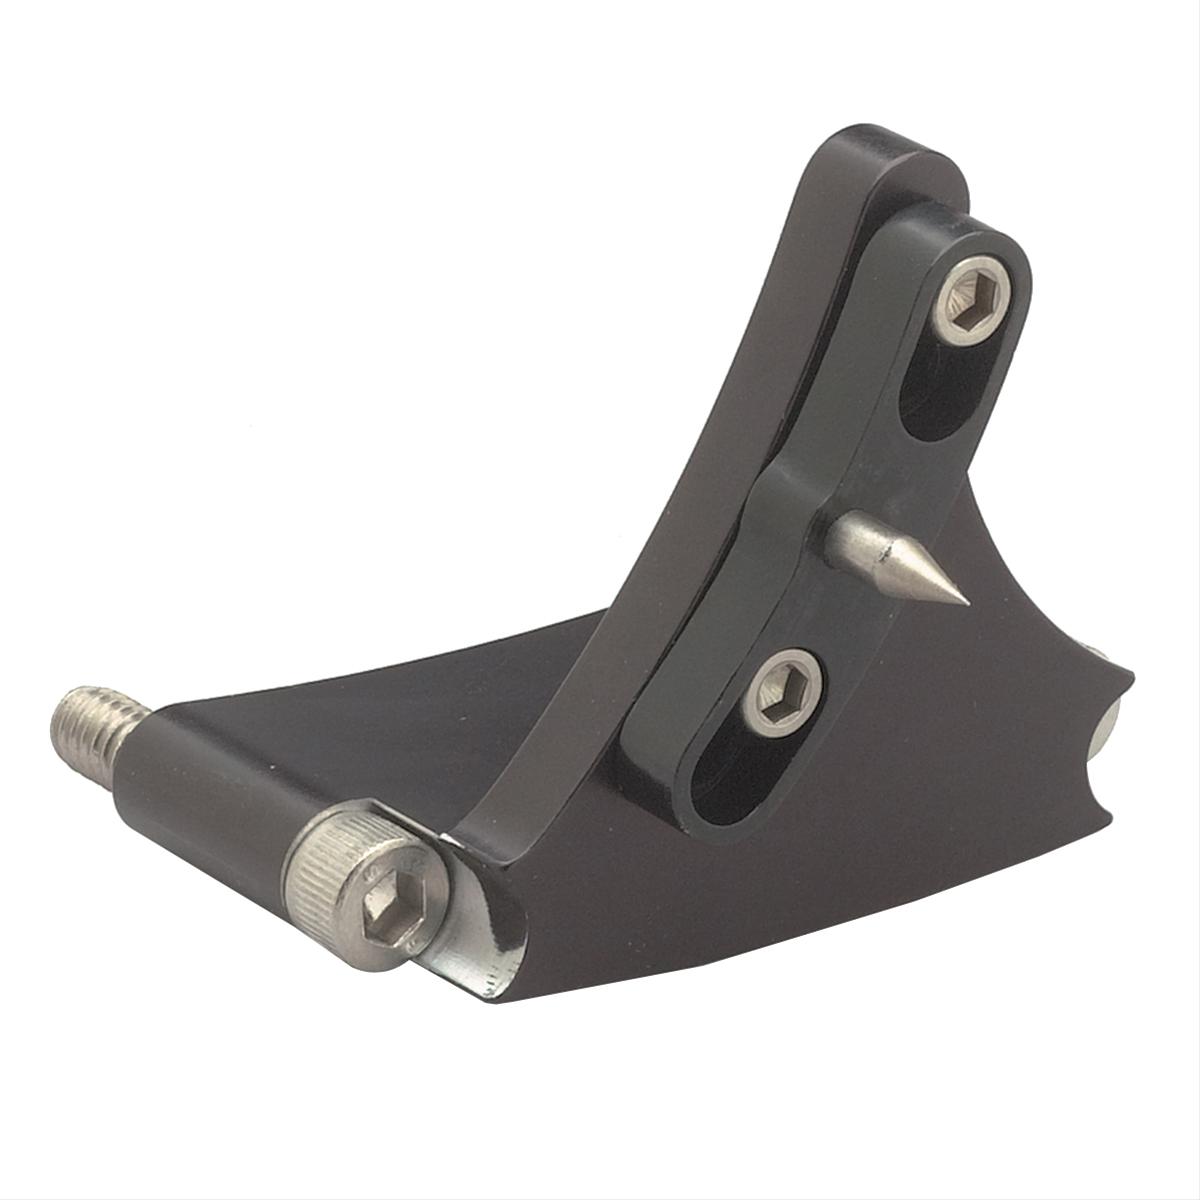
We're getting closer, should be able to start it up next week. I got the parts cleaned up and ready for assembly. We put the timing gears dot to dot, checked for TDC, installed the timing cover and went to install the adjustable pointer. The bolts were too short and the base of the pointer was flat where the cover had a small radius between the flat and raised part.

That's funny because they're both Summit Racing parts and the pointer was suggested to go with the cover. So I took the pointer to the bench grinder and took off ~1/4" and added the radius. Then installed the balancer, we had to do it that way because one of the pointer's bolts go behind it. FYI - it's an 8" balancer.
FYI - on my 88, the ground comes from the battery to the bolt just above the A.I.R. pump, the the ground strap goes from front to the frame.
You must be registered for see images attach
Then my son climbed back up into the engine compartment to prep for the intake manifold. He spread some RTV around the water ports and laid a big bead on the China rails. Yes, I used the GM Genuine Parts intake gaskets for a TBI

You must be registered for see images attach
He's been using this stuff for about a year now. He says it's better than the Right Stuff, it cures more flexible and scrapes off much easier. I know, Furd stuff? He's not a Furd fan either (I brought him up better than that) but swears by this stuff.
You must be registered for see images attach
Now time for the distributor. With #1 piston at TDC compression stroke dropped it in with it pointing at the #1 cylinder (or close enough to start it and set timing with a light). Years ago when I stabbed a distributor in my 283s and 327s, I could find the pump rod with it, and then lift the distributor until its gear just clears the cam's, turn the rotor AND pump rod until I get it to where I want, then drop it down. If it's a tooth off, I just raise the distributor and repeat until it's just right. I told him to try it on this engine and it worked just fine!

You must be registered for see images attach
To be continued...


 but less gasket scraping to do