Adjusters: Introduction and inner workings
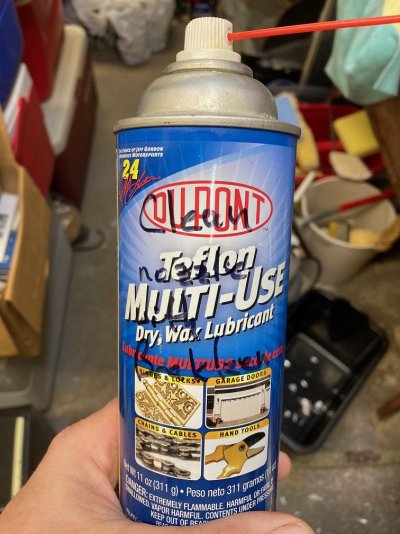
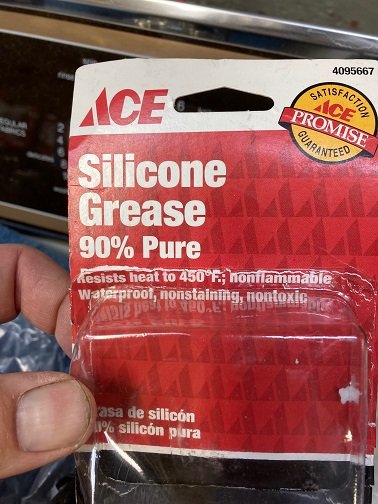
I'm creating a couple of posts to acquaint owners with the adjusters and how they can be lubricated (find the later post here https://www.gmt400.com/threads/arteb-brazil-gmt400-headlight-users-thread.56596/post-1234731)
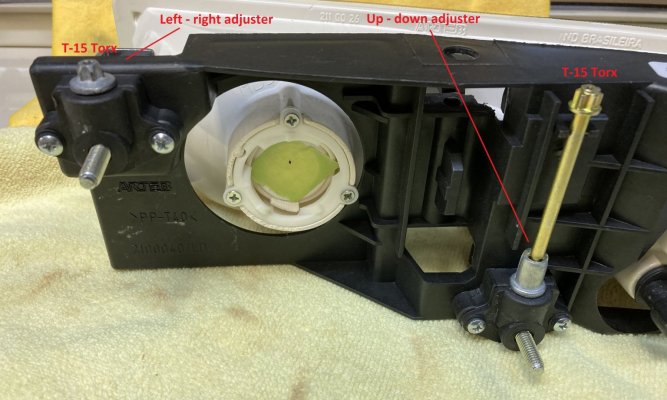
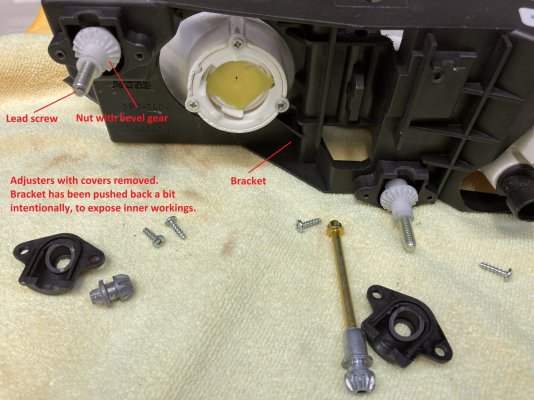
Attached is a set of annotated pictures which show the adjusters assembled and disassembled.
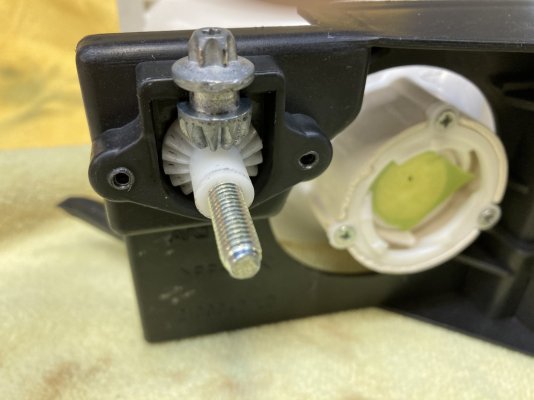
Each adjuster consists of
- a metal pinion gear with female T-15 head,
- a plastic (nylon?) ring gear with integral nut, the nut threaded upon...
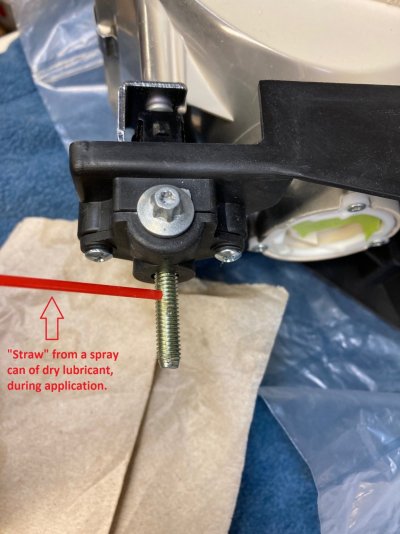
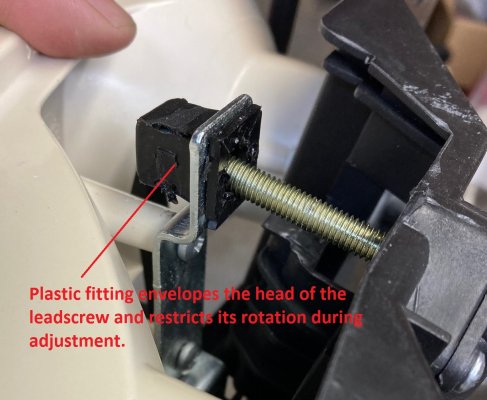
- a leadscrew, the head of which is fitted into and restrained by a plastic fitting (pictured), and
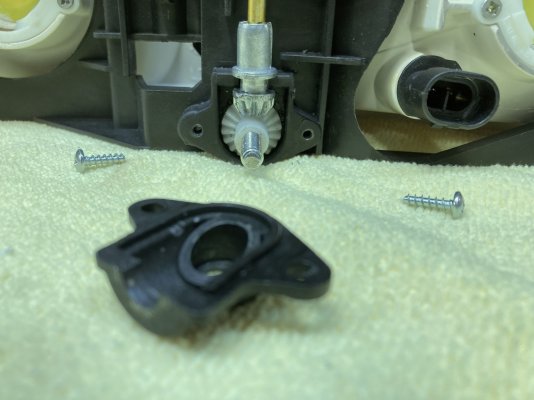
- a housing for the ring and pinion, formed by a recess in the bracket, a cover plate and two Phillips screws.
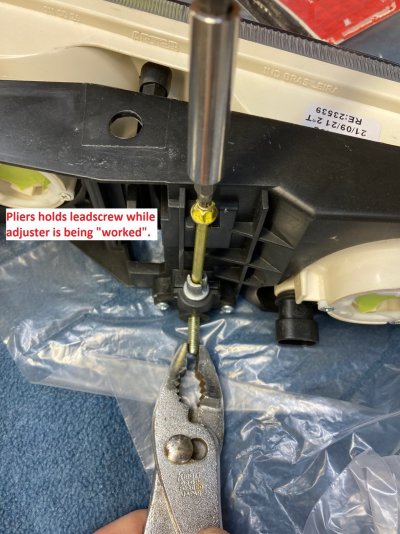
In normal operation the leadscrew does not itself turn. As the pinion and ring gear / nut turn together, the nut drives the leadscrew (in / out) to effect adjustment of the reflector. Meanwhile, the adjustment forces are managed by the plastic fitting at the leadscrew head and the housing of the ring & pinion.
I'm creating a couple of posts to acquaint owners with the adjusters and how they can be lubricated (find the later post here https://www.gmt400.com/threads/arteb-brazil-gmt400-headlight-users-thread.56596/post-1234731)
Attached is a set of annotated pictures which show the adjusters assembled and disassembled.
Each adjuster consists of
- a metal pinion gear with female T-15 head,
- a plastic (nylon?) ring gear with integral nut, the nut threaded upon...
- a leadscrew, the head of which is fitted into and restrained by a plastic fitting (pictured), and
- a housing for the ring and pinion, formed by a recess in the bracket, a cover plate and two Phillips screws.
In normal operation the leadscrew does not itself turn. As the pinion and ring gear / nut turn together, the nut drives the leadscrew (in / out) to effect adjustment of the reflector. Meanwhile, the adjustment forces are managed by the plastic fitting at the leadscrew head and the housing of the ring & pinion.
Attachments
Last edited: