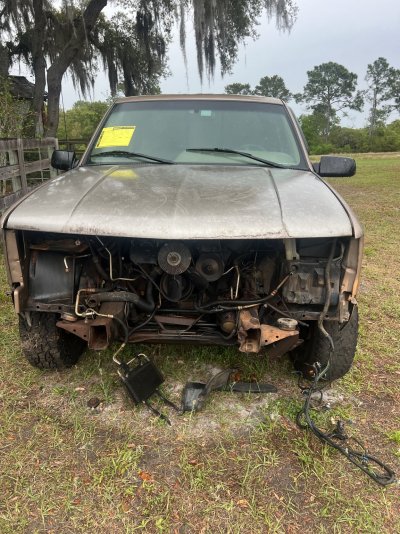
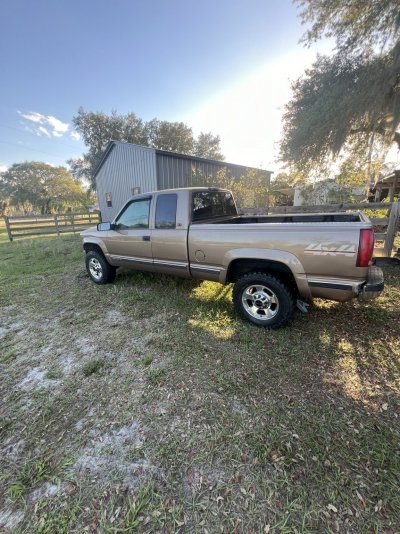
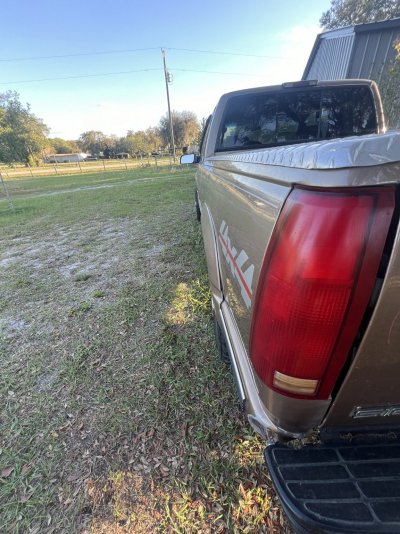
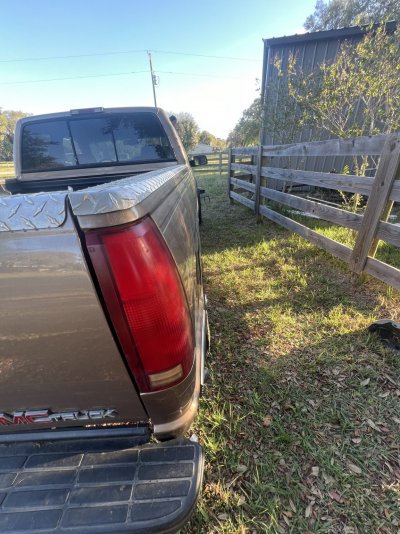
Free to me GMC 2500

Disclaimer: Links on this page pointing to Amazon, eBay and other sites may include affiliate code. If you click them and make a purchase, we may earn a small commission.

skylark

I'm Awesome
Joined
Nov 15, 2011
Messages
7,928
Reaction score
8,001
Location
Grants Pass, OR
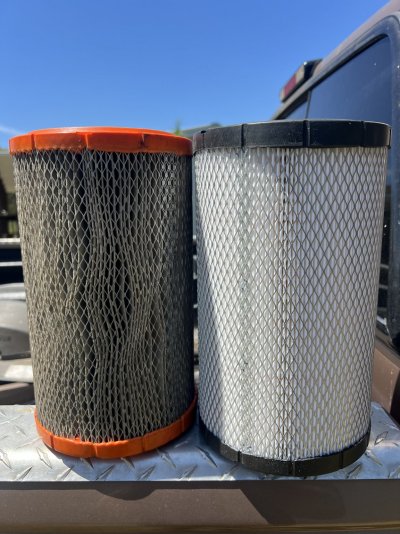
Your truck should already have the large radiator and shroud. If it measures 34" at the core ,you're good to go.

An L31 sitting that long immediately throws up red flags for intake gasket and poppet injector failures in your future. The factory intake gaskets suck and even the aftermarket ones don't like the acid in the antifreeze sitting that long.
The ethanol in the fuel kills poppet injectors without sitting faster than straight gasoline did. They love to stick with ethanol drying. Hopefully your fuel pump doesn't croak.
 

Dantheman1540

OBS Enthusiast
Joined
Mar 19, 2024
Messages
79
Reaction score
248
Location
Florida
Your truck should already have the large radiator and shroud. If it measures 34" at the core ,you're good to go.

An L31 sitting that long immediately throws up red flags for intake gasket and poppet injector failures in your future. The factory intake gaskets suck and even the aftermarket ones don't like the acid in the antifreeze sitting that long.
The ethanol in the fuel kills poppet injectors without sitting faster than straight gasoline did. They love to stick with ethanol drying. Hopefully your fuel pump doesn't croak.

That’s good to know about the radiator, I do believe it’s larger than the one I pulled out of the Tahoe, thicker for sure. Maybe the fact that all the coolant has been drained out will help the intake gaskets, if not I’m sure it’s not overly difficult to replace. I have seen where they go bad and made milkshakes in the oil. So far the dipstick is full of nice dirty oil and no traces of water. Of course it might not leak until the coolant system is pressurized.

As far as fuel system goes, your right I hope the pump doesn’t crap out right away. I haven’t even checked to see how much fuel is in it, will have to get my siphon hose out and do some jiggling.
 

Dantheman1540

OBS Enthusiast
Joined
Mar 19, 2024
Messages
79
Reaction score
248
Location
Florida
After taking stock of some parts piles I’m having naughty thoughts of an axle swap. So I happen to have an H2 9.5sf laying around that’s already been stripped and setup for gmt800 leafs. I doubt that fits so I’d have to move the spring pads but iis factory 4.10s with an electronic locker and GMT800 dick brakes which I have brand new OEM pads rotors and calipers on it. Probably not going to be a project for anytime soon, but I’ll keep it shelved incase I decide this truck needs power gears I can have that axle geared to what I want and make the swap quicker.
 

Dantheman1540

OBS Enthusiast
Joined
Mar 19, 2024
Messages
79
Reaction score
248
Location
Florida
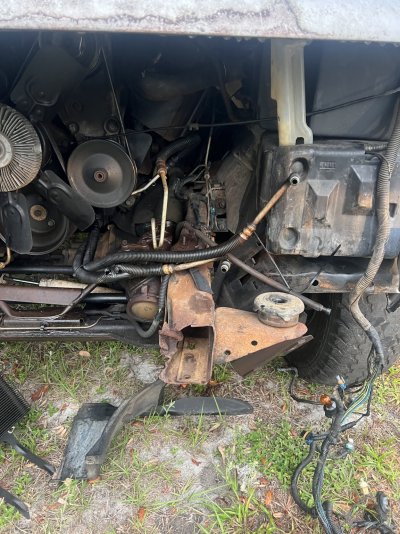
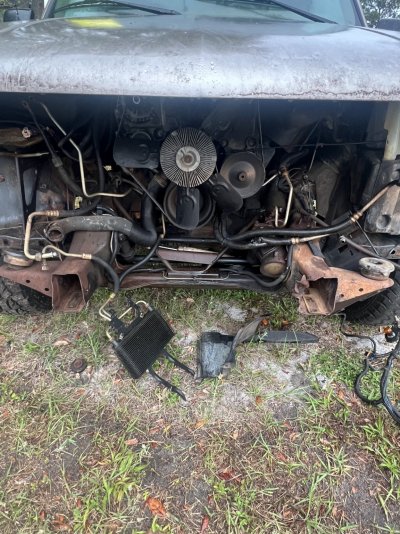
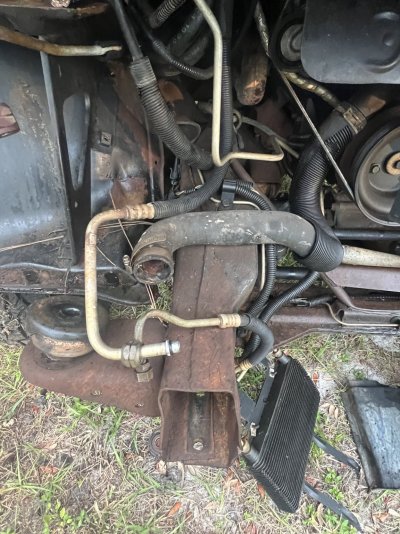
Got the rest of the busted parts off but forgot to take pics. Gonna need to add a few things to the list.

-Battery tray (stock is rusted pretty bad)
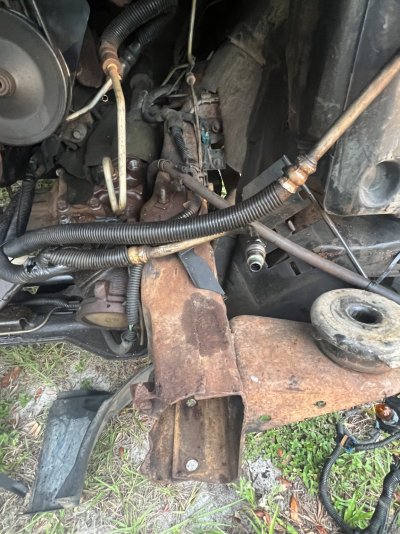
-Oil cooler lines (one broke in half at the fitting, the other twisted)
-Core support body mounts, (might as well while I’m this far in)
 

Dantheman1540

OBS Enthusiast
Joined
Mar 19, 2024
Messages
79
Reaction score
248
Location
Florida
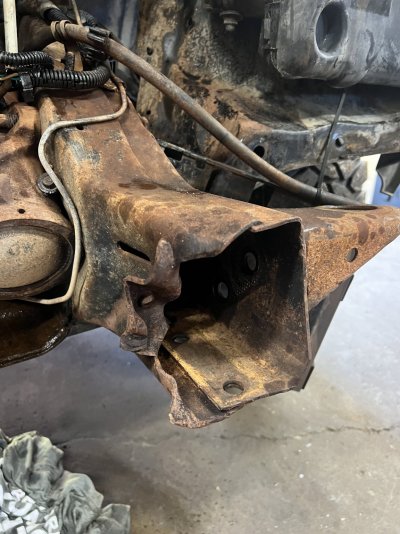
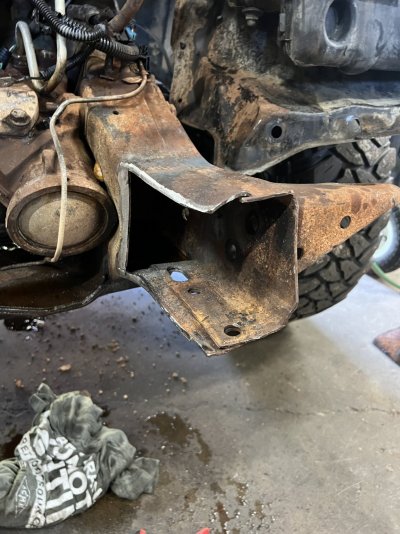
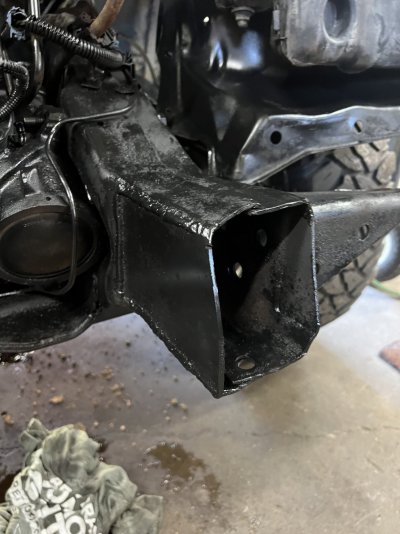
I feel like I could easily just hammer the twisted piece back and throw some weld at it, or hammer it back and plate it.
 

Attachments

  • IMG_1562.jpeg
    IMG_1562.jpeg
    573.9 KB · Views: 14
  • IMG_1563.jpeg
    IMG_1563.jpeg
    487.3 KB · Views: 14
  • IMG_1564.jpeg
    IMG_1564.jpeg
    507.9 KB · Views: 14
  • IMG_1565.jpeg
    IMG_1565.jpeg
    405.4 KB · Views: 12
  • IMG_1566.jpeg
    IMG_1566.jpeg
    429.4 KB · Views: 12

Erik the Awful

Supporting Member
Supporting Member
Joined
Aug 9, 2019
Messages
7,888
Reaction score
16,245
Location
Choctaw, OK
Do some cross measurements on the frame first to ensure it's not diamond-shaped now. If the frame's straight, get that horn back into a reasonable shape and replace the core support mount outright - replacements are fairly cheap. I just put one on Roscoe.

www.amazon.com/gp/product/B08218W6DQ/

You must be registered for see images attach
 

Dantheman1540

OBS Enthusiast
Joined
Mar 19, 2024
Messages
79
Reaction score
248
Location
Florida
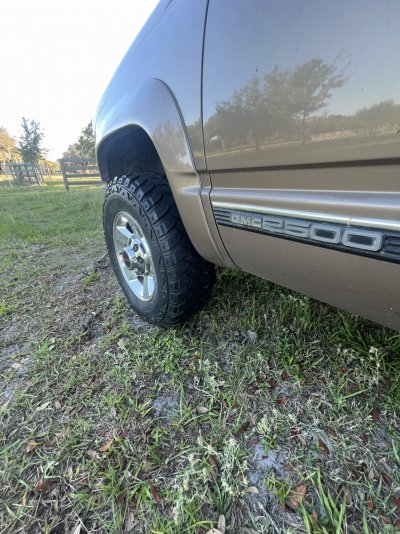
Got the 2” spacers in and got the forged power wagon wheels and tires on. I’m guessing the rear end being a good bit narrower than the front is a common gmt400 thing? I’m not sure if I want to add .5-1” out back or subtract .5” front the front to even them up some.
 

Attachments

  • IMG_1574.jpeg
    IMG_1574.jpeg
    575.7 KB · Views: 15
  • IMG_1576.jpeg
    IMG_1576.jpeg
    494.2 KB · Views: 15
  • IMG_1577.jpeg
    IMG_1577.jpeg
    477.6 KB · Views: 14
  • IMG_1575.jpeg
    IMG_1575.jpeg
    521.9 KB · Views: 15

Dantheman1540

OBS Enthusiast
Joined
Mar 19, 2024
Messages
79
Reaction score
248
Location
Florida
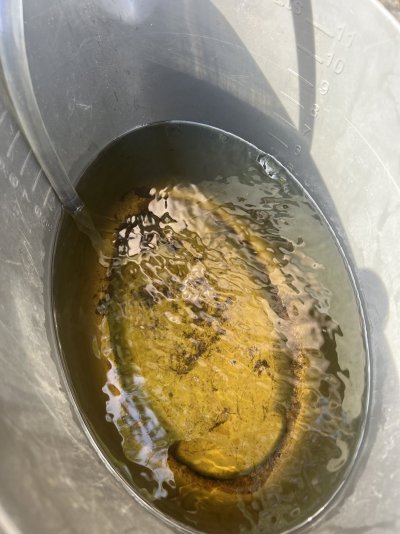
Got a bunch done today! Started by removing the basked in rear bumper and fitting the new Tahoe bumper. Then siphoned all the old fuel out or as much as I could, and while I was waiting in that I did some minor repair to the headlight harness that appeared to have gotten toasty during my uncles “torch the core support out” battle. Kinda funny I was using the old fuel as weed killed on my fence line and as it was filling a bucket I was soldering with a mini torch. A neighbor fired up his burn pit and I nearly browned my britches thinking somehow I lit the 15gal of crap fuel on fire.

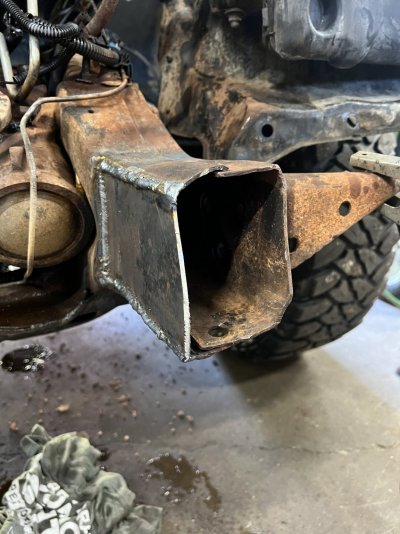
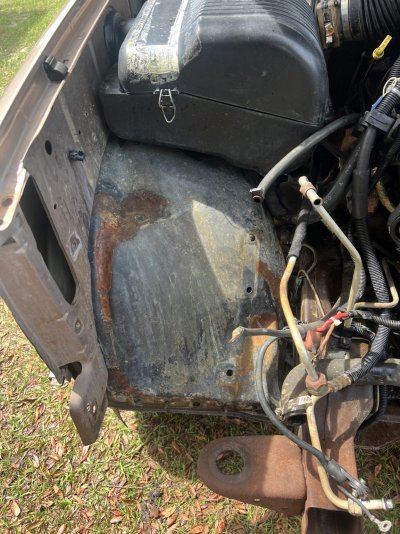
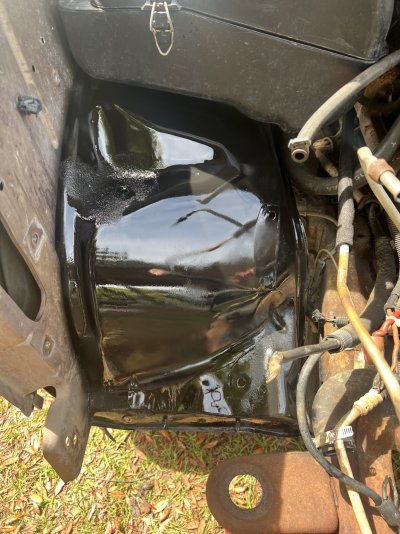
After that debacle I pulled it around to degrease and hose as much of the truck as I could. Probably did 5 or 6 degrease cycles and hosed as much underneath as I could because apparently he had gone mudding sometime before wrecking it. After that I pushed it in my shop and started on the frame. It appeared to me with my best guess/tape measure that the driver side needed to go down 1/4” but other than that everything measured out fairly well. So I torched, beat, and cut it back to where I think it should be. Made a filler piece, burned it in and blacked it out, along with some other areas that were clean and in spray range.

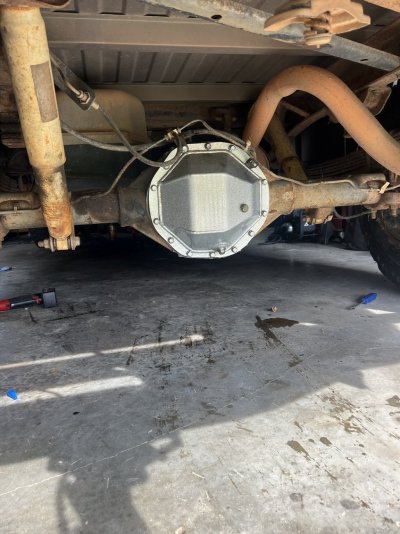
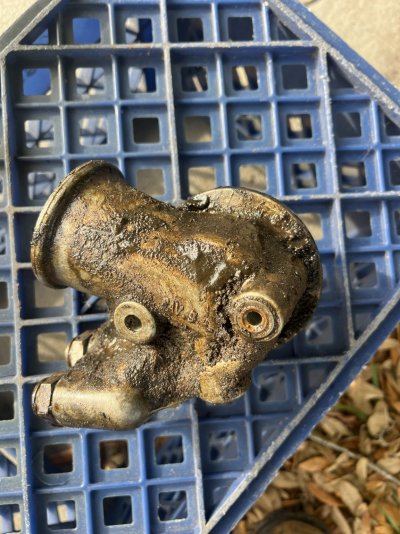
Lastly I tackled stuff I could do with the parts that had arrived. Starting with oil cooler lines and boy they are a ****. Not to mention that all my hosing didn’t get to that area and was down right nasty! Probably had been leaking for a good while so I’m glad it’s all apart for new seals. Also good news the oil looked fantastic and the filter showed no unicorn blood sparkle. Unfortunately I don’t have one of the lines because it arrived wrong so that’s on hold to put back together. So I switched to the rear end which I happened to have a nice steel diff cover and lube locker gasket from another project sitting around. So they went on and again the rear fluid looked great and the gears appear new so no worries there.

And I think that’s it for today’s progress, I’ll post all the pictures I have although it will take a bit.
 

Attachments

  • IMG_1615.jpeg
    IMG_1615.jpeg
    326.8 KB · Views: 12
  • IMG_1616.jpeg
    IMG_1616.jpeg
    321.8 KB · Views: 11
  • IMG_1617.jpeg
    IMG_1617.jpeg
    285.4 KB · Views: 11
  • IMG_1618.jpeg
    IMG_1618.jpeg
    248.9 KB · Views: 12
  • IMG_1614.jpeg
    IMG_1614.jpeg
    371.9 KB · Views: 12

Caman96

OEM Baby!
Supporting Member
Joined
Jul 17, 2020
Messages
7,001
Reaction score
13,628
Location
The Hub
Nice work! I’d recommend getting new GM 12553513 oil filter adapter bolts. They tend to leak there and bolts have sealing washers on them.
I had a thread on them and @truckermim pointed out finding just the sealing washers at FMWfastners.com for .30 cents each and using your original bolts. Might be worth checking out as GM bolts are expensive.
You must be registered for see images attach
 
Last edited:
Top