Continued...
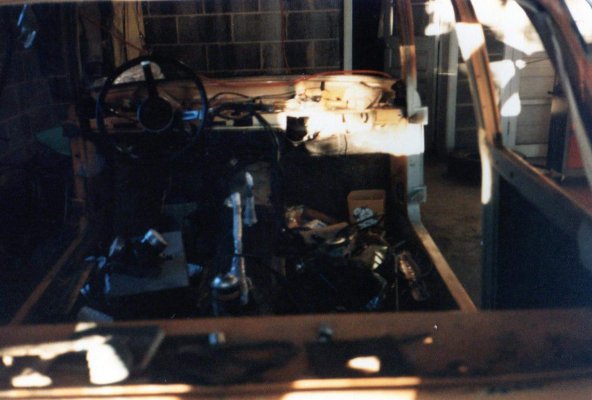
My old dash pretty much fell apart when I pulled it from the truck. What were once small cracks quickly expanded. It's trashed...
You must be registered for see images attach
The remaining alldata instructions are for pulling the radio, HVAC, switches, etc. from the dash. You can pretty much wing it from here...
32. Remove the accessory switch(es) as necessary.
33. Remove the instrument cluster bezel. See: Service and Repair
34. Remove the headlamp switch.
35. Remove the HVAC control assembly.
35.1. Disconnect the electrical connectors.
35.2. Disconnect the cables (if equipped).
36. Remove the instrument cluster screws and the cluster.
37. Remove the IP auxiliary storage compartment (if equipped).
38. Remove the IP cupholder.
39. Remove the ashtray assembly.
40. Remove the radio from the carrier.
41. Remove the two air distribution duct screws.
The air duct needs to come out so that you can remove the wiring harness beneath. It's held in place with two screws on the ends and a clip in the radio/hvac cavity. I didn’t get a picture of the clip, but take out the radio and a/c control panel and it’s in there.
One screw is on the passenger side
You must be registered for see images attach
and one on the driver side behind the wiring
You must be registered for see images attach
You must be registered for see images attach
42. Remove the air distributor duct from the IP. Squeeze the clips from the front of the IP in order to release the duct.
43. Disconnect the antenna lead-in.
You must be registered for see images attach
44. Remove the retaining clips from the inflatable restraint IP module or the IP compartment assembly.
45. Remove the inflatable restraint IP module.
46. Remove the four nuts that retain the IP compartment assembly to the carrier (vehicles over 8,600 GVWR).
Remove passenger airbag. It has four screws, two are captive. I didn't get a picture of the other two, but they go up toward the top of the dash.
You must be registered for see images attach
47. Remove the rosebud retainers on the right side of the IP forward harness.
There are several metal clips and plastic christmas tree clips that hold the harness to the dash. Just disconnect all wiring harnesses to the cigarette lighter, 4x4 buttons, airbag switch, cargo light, etc. and remove from dash. I started with the passenger side.
You must be registered for see images attach
You must be registered for see images attach
You must be registered for see images attach
You must be registered for see images attach
Be careful with the connector to the instrument cluster. Squeeze the side clips and push the connector forward (toward the steering wheel), turn it and then pull it back through the opening.
You must be registered for see images attach
And that's about it. Transfer the wiring harness to the new dash and install the HVAC ductwork onto the new dash. Reinstall the radio, passenger airbag, etc. and go from there. Installation in the truck is the reverse.