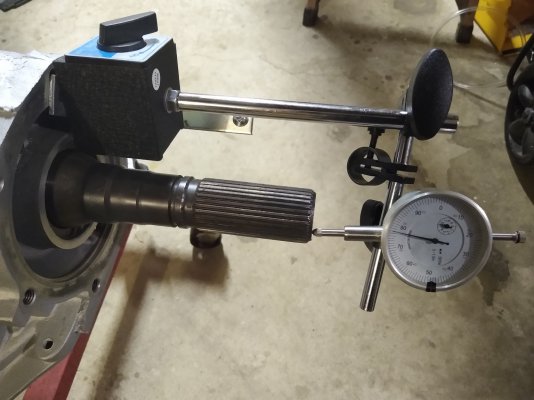
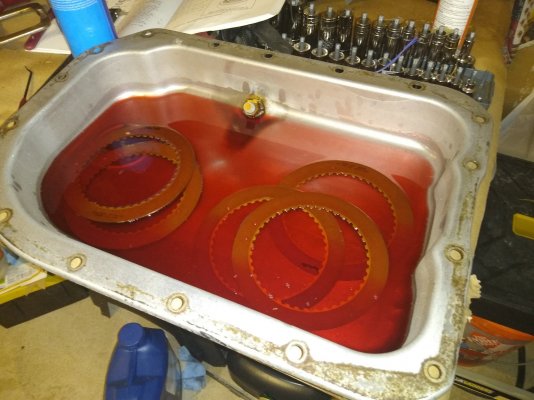
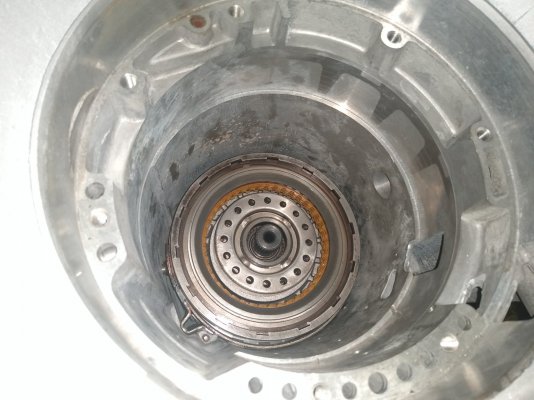
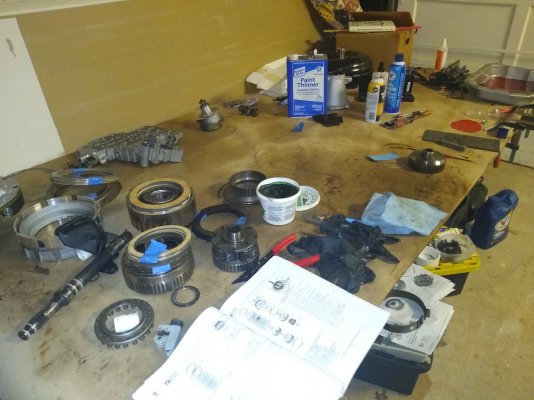
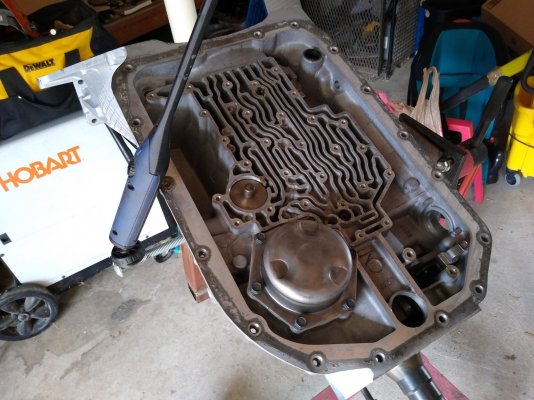
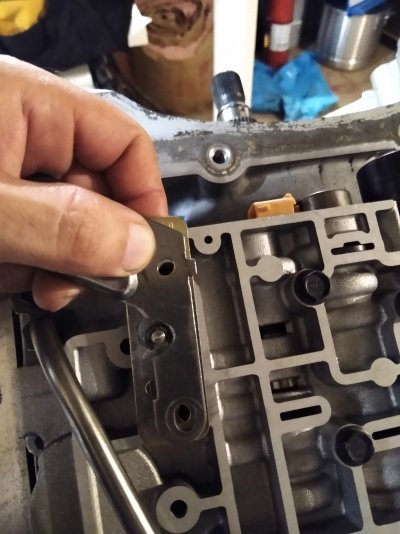
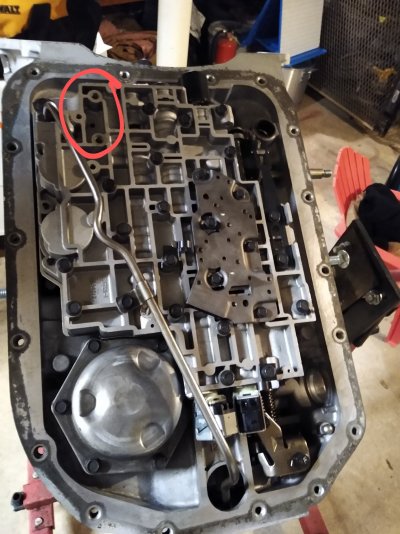
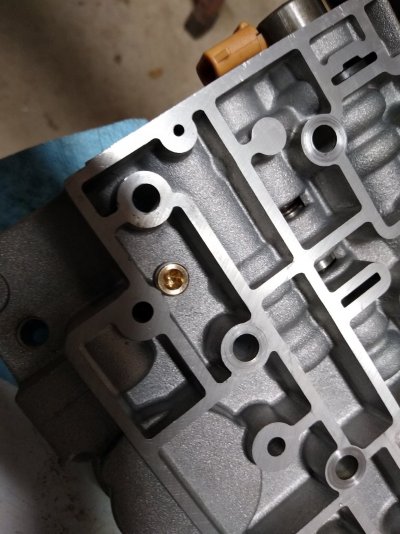
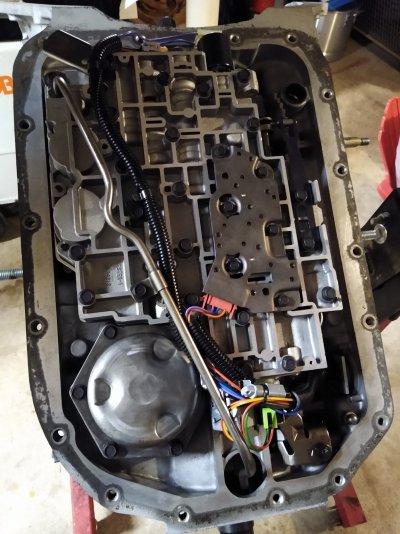
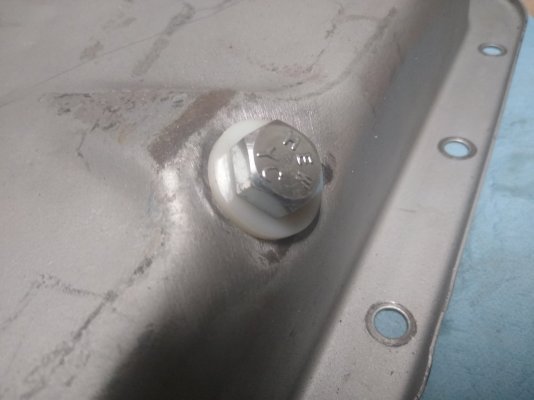
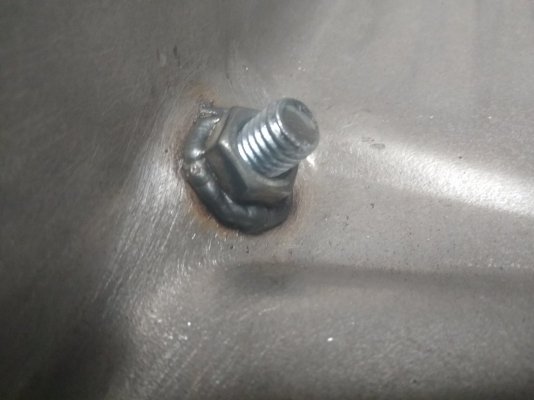
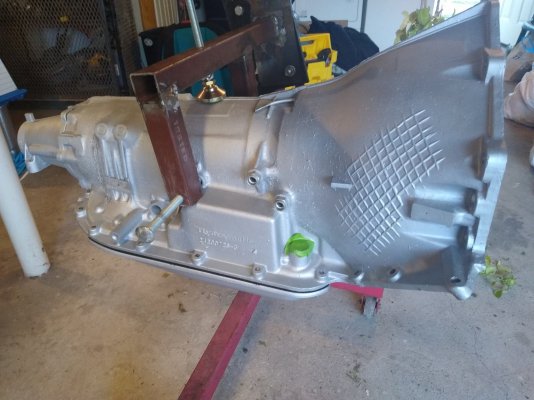
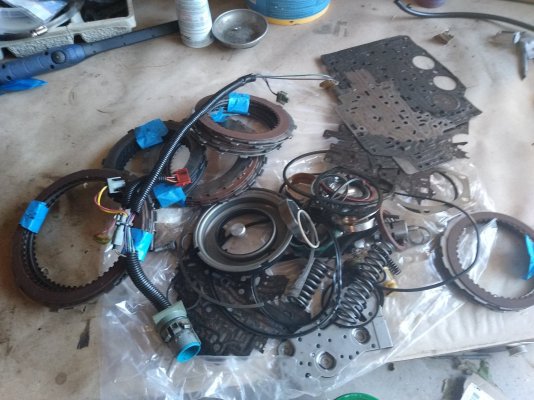
'99 Silverado 4.3 to 5.3 Swap with 4L80e bonus

Disclaimer: Links on this page pointing to Amazon, eBay and other sites may include affiliate code. If you click them and make a purchase, we may earn a small commission.

stutaeng

I'm Awesome
Joined
Aug 7, 2019
Messages
3,410
Reaction score
4,351
Location
Dallas, TX
I'm reusing my selective end thrust washer. Endplay checked out at 0.009". My article from Sonnax says 0.007" to 0.019".
 

Attachments

  • IMG_20211009_204128036.jpg
    IMG_20211009_204128036.jpg
    206.2 KB · Views: 5

stutaeng

I'm Awesome
Joined
Aug 7, 2019
Messages
3,410
Reaction score
4,351
Location
Dallas, TX
I put together the remaining parts. The overrun clutch was a pain to install due to the double lip seals. I know some guys don't even take it apart, because it's difficult to reinstall.

I made a little block and used the assembly goo container as a carousel...the videos said you work the top lip seal and the piston just falls into place. Well about 1 hour later it finally did, but I had to work the lower seal with another one of those little round plastics. LOL
 

Attachments

  • IMG_20211015_220446658.jpg
    IMG_20211015_220446658.jpg
    188.6 KB · Views: 8
  • IMG_20211015_214651410.jpg
    IMG_20211015_214651410.jpg
    206.6 KB · Views: 8
  • IMG_20211015_220709646.jpg
    IMG_20211015_220709646.jpg
    203.1 KB · Views: 8

Erik the Awful

Supporting Member
Supporting Member
Joined
Aug 9, 2019
Messages
7,872
Reaction score
16,219
Location
Choctaw, OK
If the plastic rounds are difficult, make one of these. Copper tubing and .024"-ish wire.

You must be registered for see images attach
 

stutaeng

I'm Awesome
Joined
Aug 7, 2019
Messages
3,410
Reaction score
4,351
Location
Dallas, TX
I dropped in all the geartrain and pump. I have a little issue with the Transgo shift kit pressure relief plate. There's a plate that goes in the same location for the dipstick. I tried cutting a slot...

I may just tap and plug the hole on the valve body and eliminate the pressure relief valve mod...
 

Attachments

  • IMG_20211023_122803473.jpg
    IMG_20211023_122803473.jpg
    175.7 KB · Views: 12
  • IMG_20211023_122757320.jpg
    IMG_20211023_122757320.jpg
    313.5 KB · Views: 8
  • IMG_20211023_214351588.jpg
    IMG_20211023_214351588.jpg
    222.9 KB · Views: 12
  • IMG_20211023_211626530~2.jpg
    IMG_20211023_211626530~2.jpg
    286.2 KB · Views: 9

stutaeng

I'm Awesome
Joined
Aug 7, 2019
Messages
3,410
Reaction score
4,351
Location
Dallas, TX
I wound up tapping and plugging that hole for that relief valve. Got the electrical harness installed...just needs oil pan!

BTW, my oil pan didn't have a drain plug, so I added my own. Just a 1/2-13 bolt and nut welded to the pan with a nylon washer.
 

Attachments

  • IMG_20211026_212032551.jpg
    IMG_20211026_212032551.jpg
    284.2 KB · Views: 4
  • IMG_20211026_220733176.jpg
    IMG_20211026_220733176.jpg
    291.7 KB · Views: 4

stutaeng

I'm Awesome
Joined
Aug 7, 2019
Messages
3,410
Reaction score
4,351
Location
Dallas, TX
Homemade oil pan drain plug
 

Attachments

  • IMG_20210915_203536874.jpg
    IMG_20210915_203536874.jpg
    161.9 KB · Views: 5
  • IMG_20210915_203548297.jpg
    IMG_20210915_203548297.jpg
    176.3 KB · Views: 5

stutaeng

I'm Awesome
Joined
Aug 7, 2019
Messages
3,410
Reaction score
4,351
Location
Dallas, TX
Alright. Transmission rebuild is complete!

I think I'm going to just keep running the unit that's in the truck for the time being.

Edit: On post #63 I mentioned the wider engine brake band. The ATSG manual said you also have to change the pin on the servo along with the band because the little engagement part is different. I couldn't find that pin, so I re-installed the original band.
 

Attachments

  • IMG_20211113_164144189.jpg
    IMG_20211113_164144189.jpg
    269 KB · Views: 18
  • IMG_20211113_164211020.jpg
    IMG_20211113_164211020.jpg
    299.5 KB · Views: 18
Last edited:
Top