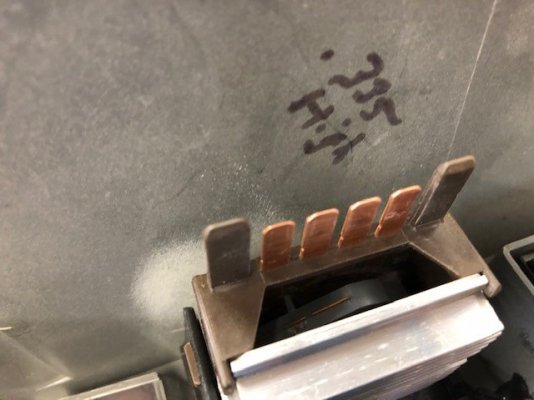
These are known to break the four little plastic bosses causing the switch to push in when you try to use it.
I started by removing the bezel and switch and cleaning up an old defective repair. It was easy to remove the old glue since it was a consumer product on unprepared plastic.
The two outer bosses were still good, and one inner one was mostly there, the other inner was completely gone including the screw.
I wrote down the height measurement of the inner boss so I could get the same height when I built new bosses.
Next I bead blasting the inside of the bezel where I would be applying adhesive. Adhesives will not stick to plastic that is not abraded or lightly blasted, any raw plastic is a weak spot. I like the bead blasting because it gets all the nooks and crannies.
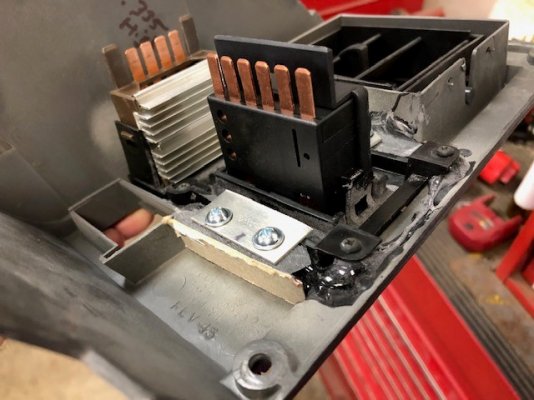
Even though the outer were pretty good, I reinforced them and built new inner bosses.
I used 3M 4240 adhesive as it gave me a little work time. I added alot, making sure to get alot of surface area on the bezel.
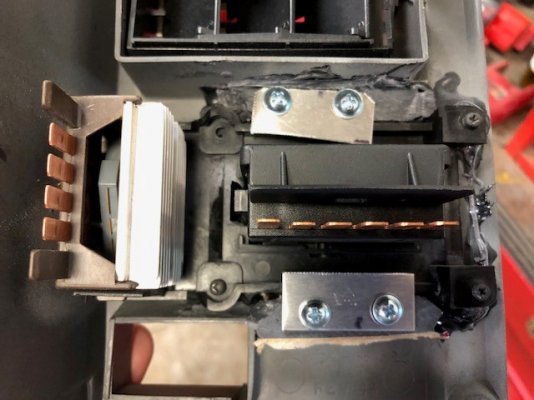
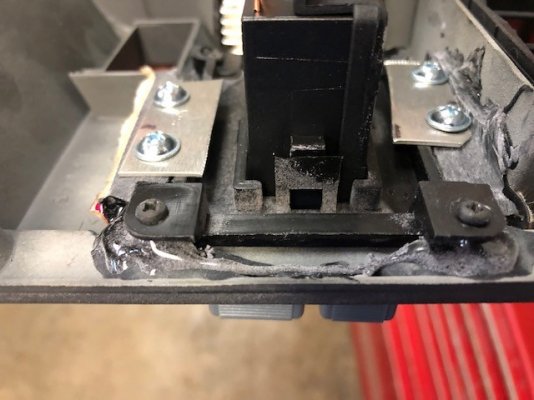
after curing I used a Dremel and file belt tool to shape the bosses. I left them as large as possible while still getting the switch to fit. It takes alot of test fitting. I also used some carboard to make a dam to make two large rectangular bosses so I could add the aluminum hold down pieces. The large bosses were sanded down with the belt tool to be slightly lower than the switch s the aluminum pieces would pull the switch down. These pieces likely take all the force leaving little for the screws to hold.
I was not concerned about appearance, cut and drilled the aluminum by eye
If I do another one, I might just make the large bosses and aluminum pieces and forget about the screws.
I started by removing the bezel and switch and cleaning up an old defective repair. It was easy to remove the old glue since it was a consumer product on unprepared plastic.
The two outer bosses were still good, and one inner one was mostly there, the other inner was completely gone including the screw.
I wrote down the height measurement of the inner boss so I could get the same height when I built new bosses.
Next I bead blasting the inside of the bezel where I would be applying adhesive. Adhesives will not stick to plastic that is not abraded or lightly blasted, any raw plastic is a weak spot. I like the bead blasting because it gets all the nooks and crannies.
Even though the outer were pretty good, I reinforced them and built new inner bosses.
I used 3M 4240 adhesive as it gave me a little work time. I added alot, making sure to get alot of surface area on the bezel.
after curing I used a Dremel and file belt tool to shape the bosses. I left them as large as possible while still getting the switch to fit. It takes alot of test fitting. I also used some carboard to make a dam to make two large rectangular bosses so I could add the aluminum hold down pieces. The large bosses were sanded down with the belt tool to be slightly lower than the switch s the aluminum pieces would pull the switch down. These pieces likely take all the force leaving little for the screws to hold.
I was not concerned about appearance, cut and drilled the aluminum by eye
If I do another one, I might just make the large bosses and aluminum pieces and forget about the screws.