There has been a lot of progress since my last post. Pushing extremely hard to get into a driveable condition so I can unload the garage and get it back to its intended use…not a repair shop.
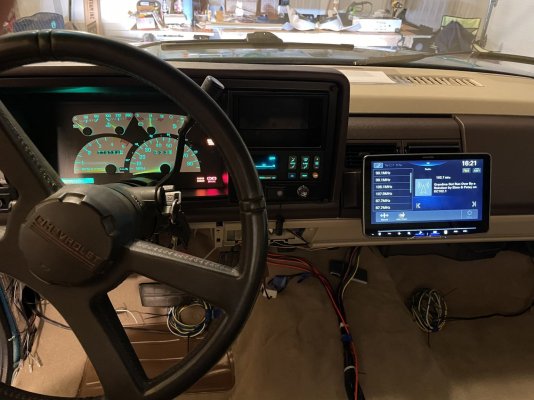
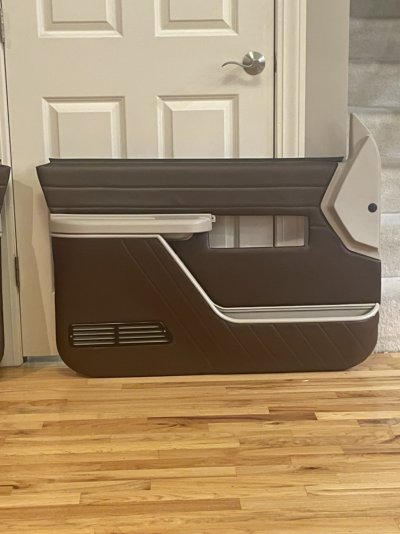
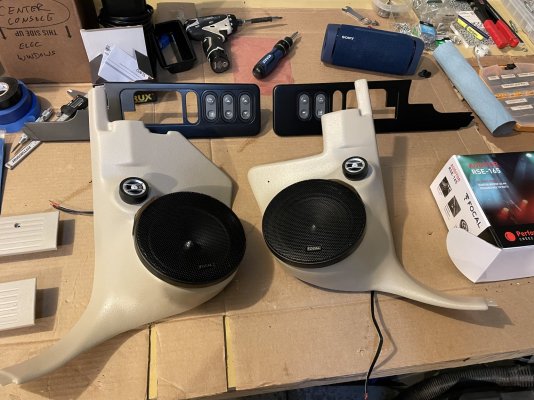
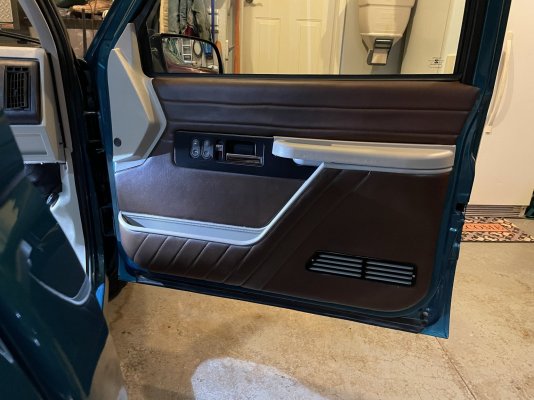
Finishing up the interior transformation: New paint, installed the stereo, new speakers, updated the dash, dash lights, took most everything apart and cleaned (to a point), new carpet, updated the door panels, fixes some broken parts with new (lower dash panels, door arm rests, door switch panels, door felt window seals, etc.).
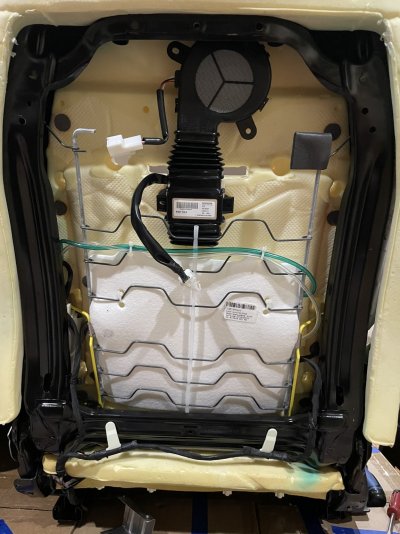
New electrical busses & fuses are coming along nicely and will be hidden under the center console. That took a lot of patience and is still in the works as I install new systems. I spent the last several days upgrading my 2015 High Country seats with new heating and cooling mods from leatherseats.com…that will be worthy of a post in itself.
More to come in postings on some of the individual items as I finish out and before I loose the “lessons learned” from my build. In the meantime I hope everyone has an awesome Christmas!