I used the cheap HF 3 stone hone to clean up the cylinders.
What grit? Better be pretty fine as I'm sure you'll be using moly-filled rings.
When it's me, I cram a 240-grit Flex-Hone through the cylinders for a couple strokes, followed by a 320-grit Flex-Hone for several strokes.
And then, a normal green Scotch-Brite pad lubed with kerosene or Diesel fuel, scrubbed vertically up 'n' down the bores. That's something I picked-up from David Vizard. Supposedly removes any folded-metal left by the honing; smooths-out the peaks of the metal, and thus reduces friction during assembly and initial break-in.
Then clean, clean, clean!
My machinist uses a different sort of flex-hone after honing to size. His has abrasive plastic fingers. rather than silicon carbide dingle_berries.
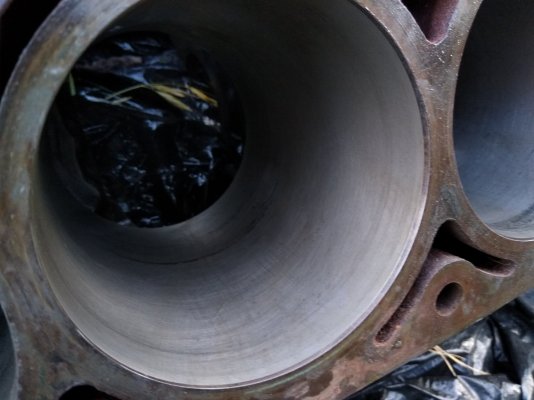
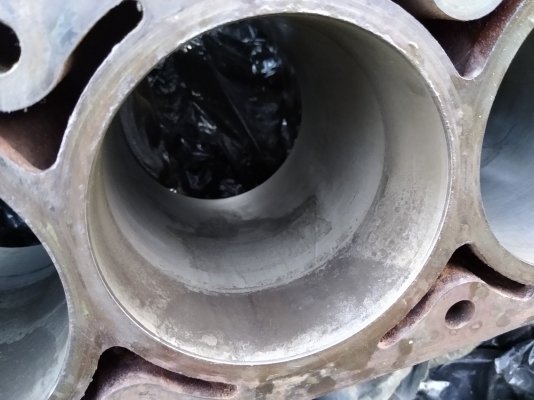
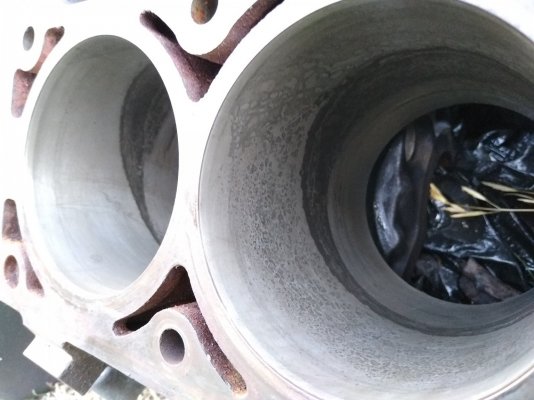
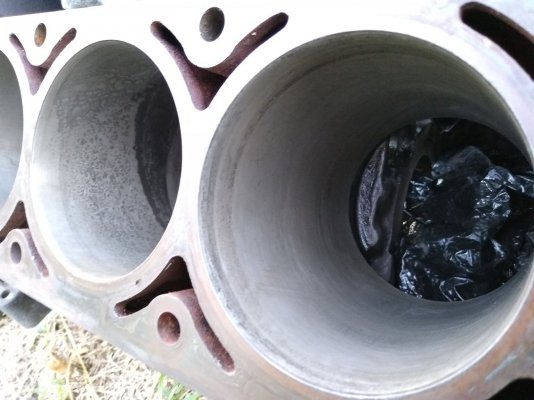
There's some staining, but otherwise they feel smooth. I see a tiny bit of vertical scoring on some cylinders.
What now? Does this look salvageable?
It "looks" terrible. Whether it
is terrible or not, I'm not qualified to say. It "don't look nothin' like" what I'm used to, which is a pristine, uniform-color cylinder with cross-hatch hone marks.