Getting a Sound system together for my Yukon

Disclaimer: Links on this page pointing to Amazon, eBay and other sites may include affiliate code. If you click them and make a purchase, we may earn a small commission.

Grube

Newbie
Joined
Jan 12, 2024
Messages
40
Reaction score
112
Location
Kitimat
I have been looking for deals and sales on car audio for my old Yukon, for a couple days now. I found a few deals today I decided to pull the trigger on.

So far this is what I’ve got together, all price in CAD$;
Metra 70-1858 $16.10 (down from $19.99)
Metra 95-3003G $27.68 (down from $31.06)
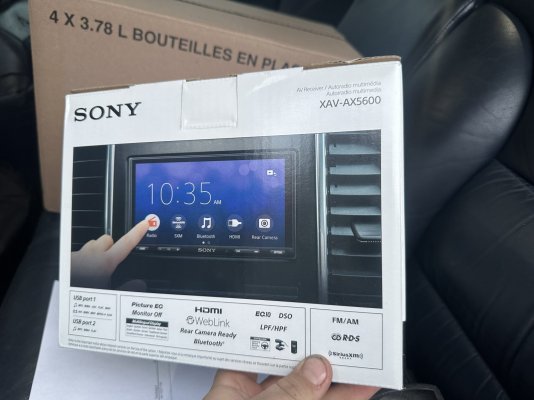
Sony XAV AX5600 $499.99 (down from $849.99)
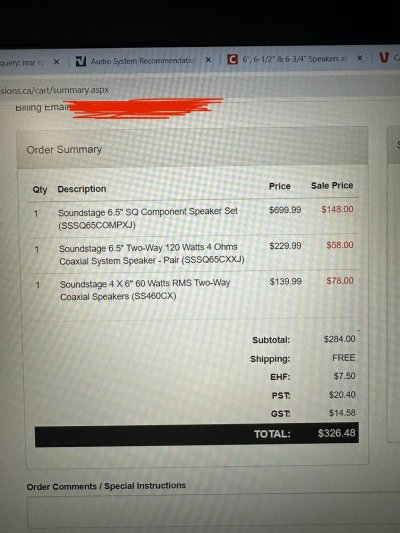
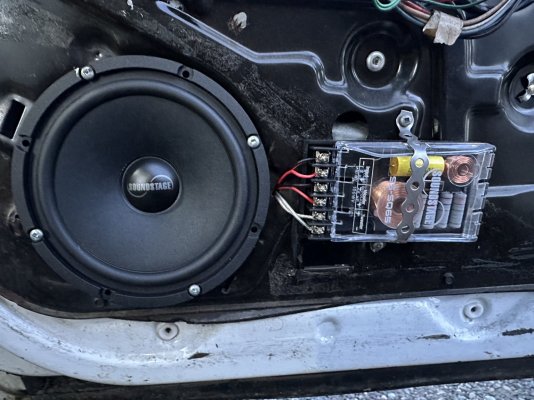
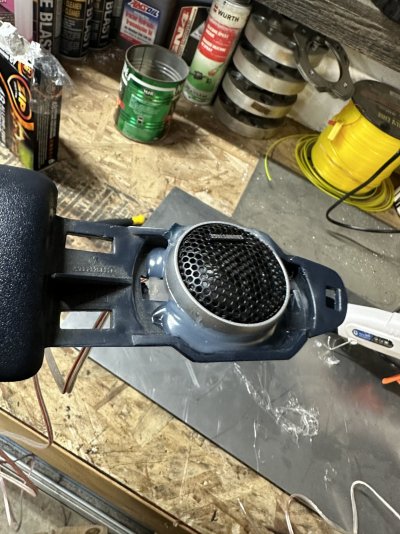
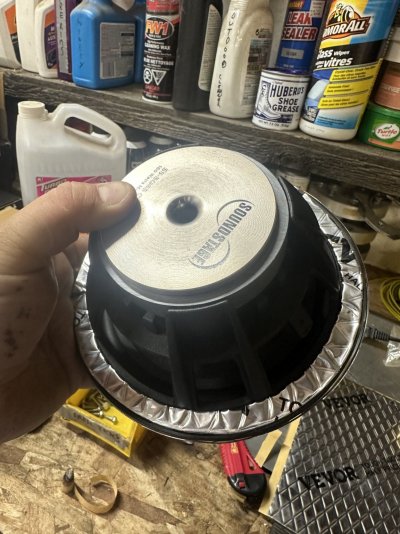
SoundStage 6.5” components (SSSQ65COMPXJ) $148.00 (down from $699.99)
SoundStage 6.5” coaxials (SSSQ65CXXJ) $58.00 (down from $229.99)
SoundStage 4”x6” coaxials (SS460CX) $78.00 (down from $139.99)

Total Cost $827.77
Total Savings $1143.24

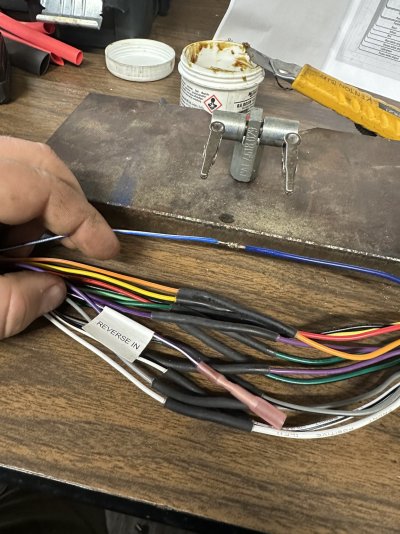
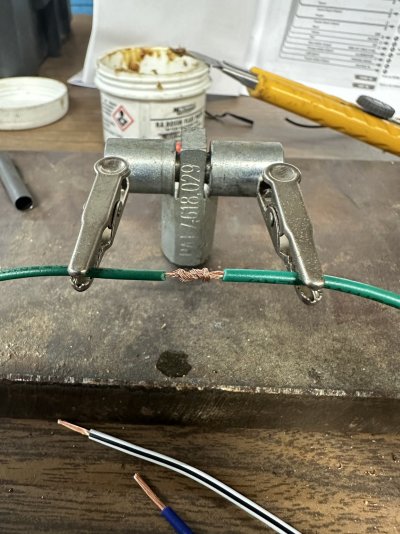
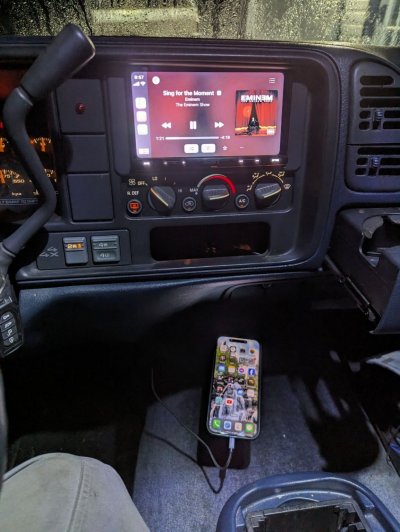
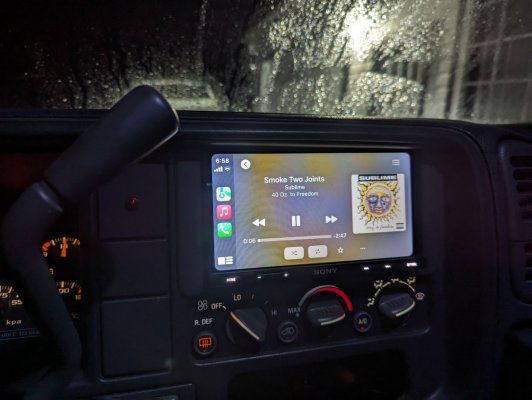
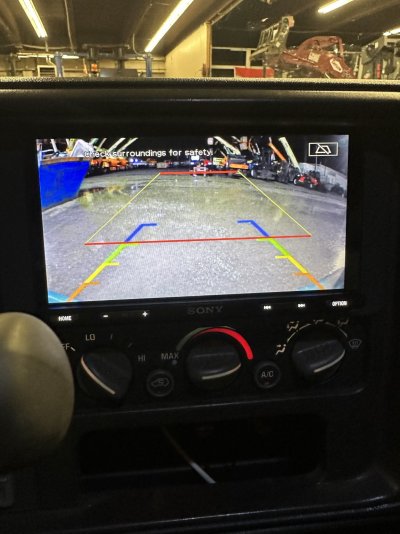
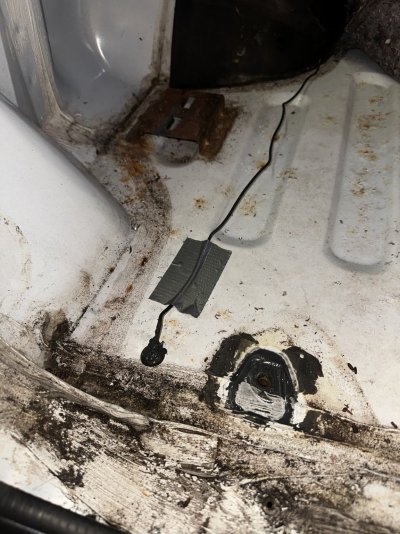
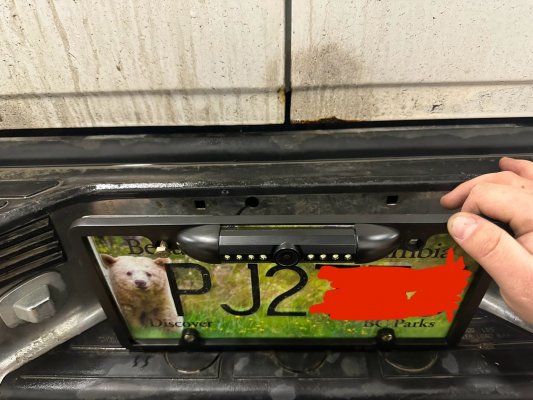
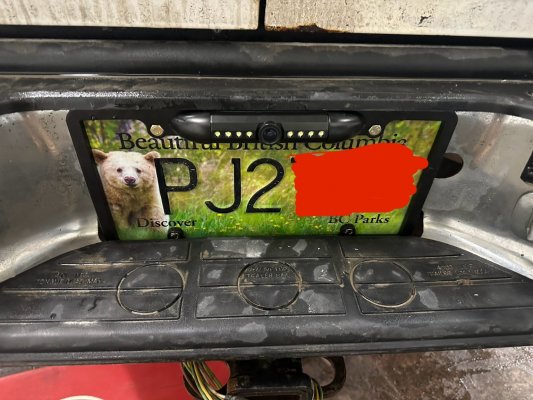
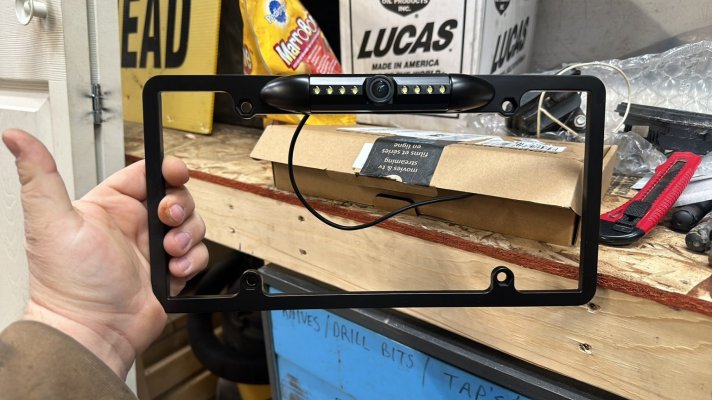
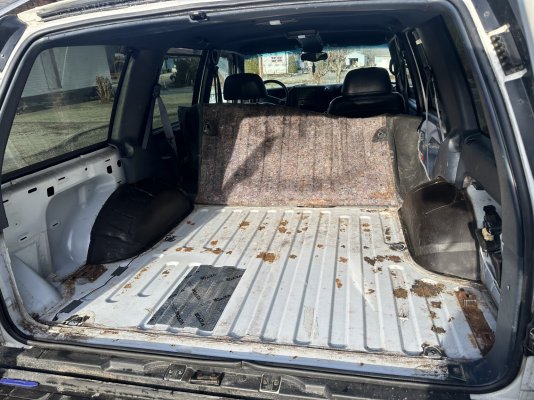
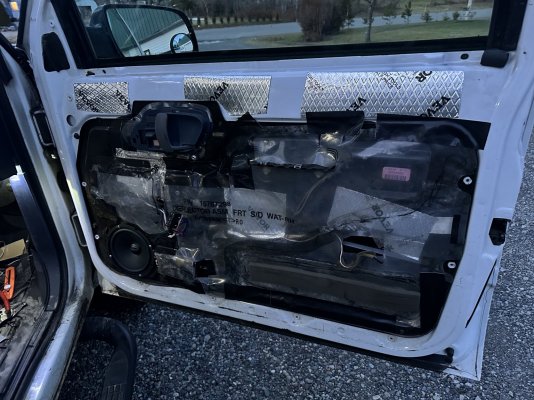
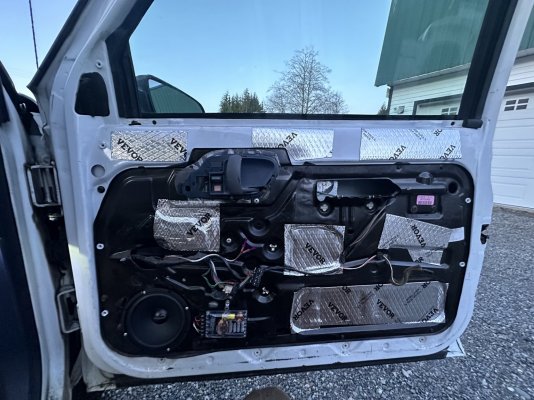
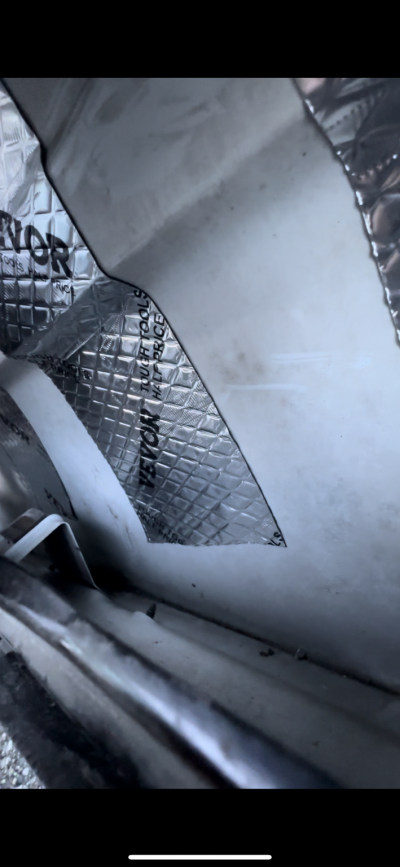
This should hopefully be everything I need to complete the install. Dash kit, dash wiring harness, head unit and total of 8 speakers. I expect some modifications to be required, but nothing crazy. I’ve got some sound deadening material and a backup camera already, leftovers from other projects. I am waiting on items to arrive in the mail, the only thing I bought locally is the Sony head unit. Got the display model from local sound shop. Stay tuned for installed pics once all the parts arrive.

I guess the only other thing I’m still shopping for is a quality phone mount. I normally go with Panavise products, but don’t really like their dash bracket for this vehicle. I do have a Quadlock phone case that I use with my ATV, so I might go that route. Will update thread when I figure that out.
 

Attachments

  • IMG_1926.jpeg
    IMG_1926.jpeg
    214.7 KB · Views: 10
  • IMG_1925.jpeg
    IMG_1925.jpeg
    298.1 KB · Views: 9

Grube

Newbie
Joined
Jan 12, 2024
Messages
40
Reaction score
112
Location
Kitimat
That’s awesome it’s gonna rock that’s sone good shopping fellow Canuck!
Thank you!

I have to add a few more items to the parts list though, one was an oversight (antenna adapter), and the other I was simply on the fence about - but decided to take the plunge (sound deadening) - thought I had more lying around at home initially. I was wrong lol

Metra 40-GM10 $16.07 (down from $21.15)
VEVOR 1.2mm sound deadening 104 sqft $119.98 - not on sale but cheaper than alternatives like Kilmat / Dynomat / Etc
Set of 3 sound deadening install rollers $20
 

Grube

Newbie
Joined
Jan 12, 2024
Messages
40
Reaction score
112
Location
Kitimat
Well parts are starting to arrive. Still waiting for speakers in the mail, but have all the pieces (minus the antenna adapter) to install the new head unit. Figured I’d start putting it together, knowing I’ll have to get back in there to attach the antenna next week.

Started off by verifying I ordered the correct Metra harness, then went ahead and solder/shrink tubed the Sony harness to the Metra harness. Note to the wise, don’t forget the shrink tube on the very last connection - D’oh!

Aside from having to cut one apart and redo it, that went pretty smoothly haha

I soldered every connection with the exception of the Reverse In signal for backup cam, I used a shrink tube butt connector for that and just left one end unconnected. This will allow me to go back later and easily hookup backup camera, probably at the same time I open it up to do the antenna adapter. Just focusing on getting the head unit, CarPlay and car phone all setup today.

In process of install the head unit now, will update with some installed pics later today..
 

Attachments

  • IMG_1953.jpeg
    IMG_1953.jpeg
    360.1 KB · Views: 12
  • IMG_1950.jpeg
    IMG_1950.jpeg
    313.2 KB · Views: 11
  • IMG_1951.jpeg
    IMG_1951.jpeg
    277.7 KB · Views: 12
  • IMG_1952.jpeg
    IMG_1952.jpeg
    333.2 KB · Views: 12

Grube

Newbie
Joined
Jan 12, 2024
Messages
40
Reaction score
112
Location
Kitimat
Well, had a friend show up yesterday and the stereo install got sidetracked lol.
Got back in it today and finished up the dash install (with exception of antenna adapter, still in the mail)

Trimmed the radio bezel to facilitate the Metra dash kit, happy with the look and worked well. Everything functions, and factory amp is turning on and powering the rear door speakers. Havent installed the new speakers yet, also still in the mail lol.

Sony has 2 USB inputs, I ran the smartphone link out bottom of dash where my phone holder is on the floor there. The “data” usb I ran into glovebox. Didn’t photograph the car phone mic, but I ran it up a-pillar and along headliner over to the overhead console where i mounted it
 

Attachments

  • IMG_1960.jpeg
    IMG_1960.jpeg
    247.3 KB · Views: 17
  • IMG_1961.jpeg
    IMG_1961.jpeg
    450.3 KB · Views: 17
  • image000001.jpeg
    image000001.jpeg
    265.8 KB · Views: 17
  • image000000.jpeg
    image000000.jpeg
    190.7 KB · Views: 17
Last edited:

Grube

Newbie
Joined
Jan 12, 2024
Messages
40
Reaction score
112
Location
Kitimat
Finally got the mail, and some time to install backup camera, and the antenna adapter.
Also re-did my 4-flat trailer wiring while I was under the bumper. Previous owner twisted and taped the trailer connections.. no solder, no butt connector.. just twist and tape - no wonder it wasn’t working

Adding some photos of the install, was fairly straight forward. Had to drill a hole in the license plate and the bumper for the camera cable. Tied camera power into reverse light. Decided to drill a hole in the floor and run cable up into truck, then under the carpet/trim along driver side all the way to the front. I was sure to prime the drilled hole with some paint.. used a rubber grommet to prevent wire shafing on the metal, then jammed it full of RTV silicone just to be sure it didn’t leak lol. maybe overkill.

I’m not sure if I like the guidance lines on the screen, the camera came with a green wire that can be cut to remove the lines. Just testing it for a couple days before I cut it, but I think it’ll probably be better without. You can kind of see the bumper just a bit in the bottom right/left of the screen, so with a trailer ball installed it should be right on the screen.

Hope to get some time to install the speakers and sound deadening soon
 

Attachments

  • IMG_2029.jpeg
    IMG_2029.jpeg
    245.4 KB · Views: 9
  • IMG_2020.jpeg
    IMG_2020.jpeg
    371.4 KB · Views: 8
  • IMG_2017.jpeg
    IMG_2017.jpeg
    288.2 KB · Views: 8
  • IMG_2018.jpeg
    IMG_2018.jpeg
    302.5 KB · Views: 8
  • IMG_2016.jpeg
    IMG_2016.jpeg
    235.4 KB · Views: 8
Last edited:

Grube

Newbie
Joined
Jan 12, 2024
Messages
40
Reaction score
112
Location
Kitimat
Keepin goin in the audio job. Working on sound deadening and speaker installs today. Decided to start with scraping rust bubbles off rear floor, vacuum, degrease wipe down and giver er the tremclad tune-up. Lol.

Even put the paint in front of a heater before using it, as it was below zero this morning. Hopefully the sun sticks around long enough to get it cured. Will be sticking more sound deadening on the floor once paint dries. I just put one sheet on to see how well the VEVOR brand applies, pretty good, and I only had enough non-rusted space for one test sheet.
 

Attachments

  • IMG_2062.jpeg
    IMG_2062.jpeg
    338.3 KB · Views: 6
  • IMG_2063.jpeg
    IMG_2063.jpeg
    419.3 KB · Views: 6
  • IMG_2065.jpeg
    IMG_2065.jpeg
    342.3 KB · Views: 6
  • IMG_2064.jpeg
    IMG_2064.jpeg
    330 KB · Views: 6

Grube

Newbie
Joined
Jan 12, 2024
Messages
40
Reaction score
112
Location
Kitimat
well didn’t get quite as far as I’d hoped today, but at least the paint cured well. Had company show up unexpected a couple times, but I did get most of the front right door complete. Sound deadened and tweeter/woofer/driver box installed.

I ended up shaving down the factory tweeter location with a carbide bit, then using my hot glue gun with gorilla brand glue to secure the new tweeter in place. didn’t get the best picture of inside the door, but there is strips of sound deadening in there as well.

Have shut er down for tonight, will get back at it tmrw. Still wondering if i used enough of the sound deaden or if I should put more .
 

Attachments

  • IMG_2073.jpeg
    IMG_2073.jpeg
    285.2 KB · Views: 10
  • IMG_2069.jpeg
    IMG_2069.jpeg
    338.7 KB · Views: 10
  • IMG_2074.jpeg
    IMG_2074.jpeg
    369 KB · Views: 10
  • IMG_2072.jpeg
    IMG_2072.jpeg
    319.8 KB · Views: 9
  • IMG_2075.png
    IMG_2075.png
    1,011.3 KB · Views: 9

Grube

Newbie
Joined
Jan 12, 2024
Messages
40
Reaction score
112
Location
Kitimat
Well, new development. Noticed this morning, front door speaker is quite a bit deeper than oem, hits window when all the way rolled down. D’oh.
removed the 6 1/2” woofer, and cut sound deadening into strips to make gasket/spacers out of. Seems to have done the job. Had to space it out about 5mm. Door panel still installs without touching speaker. Window doesn’t hit anymore. Great success (borat voice) haha
 

Attachments

  • IMG_2077.jpeg
    IMG_2077.jpeg
    332.9 KB · Views: 3
  • IMG_2080.jpeg
    IMG_2080.jpeg
    401 KB · Views: 3
  • IMG_2079.jpeg
    IMG_2079.jpeg
    316.4 KB · Views: 3

Drunkcanuk

I'm Awesome
Joined
Jul 22, 2021
Messages
1,825
Reaction score
5,046
Location
Alberta, Canada
Well, new development. Noticed this morning, front door speaker is quite a bit deeper than oem, hits window when all the way rolled down. D’oh.
removed the 6 1/2” woofer, and cut sound deadening into strips to make gasket/spacers out of. Seems to have done the job. Had to space it out about 5mm. Door panel still installs without touching speaker. Window doesn’t hit anymore. Great success (borat voice) haha
You can make spacers out of 1/4"(or whatever works) plywood/MDF that will move them out and provide a much more stable mounting.
 
Top