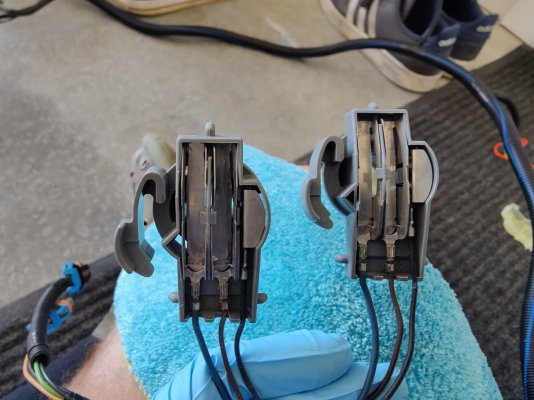
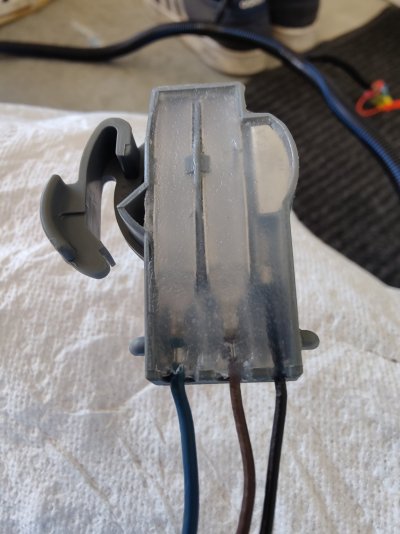
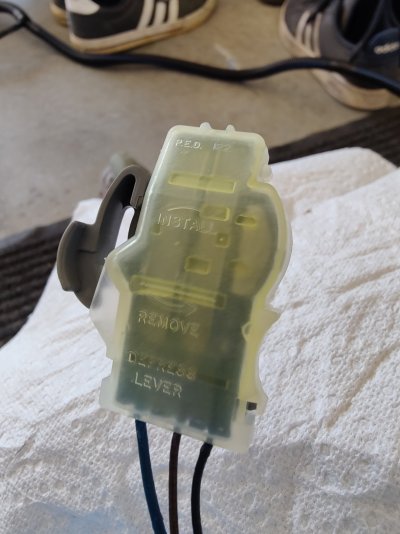
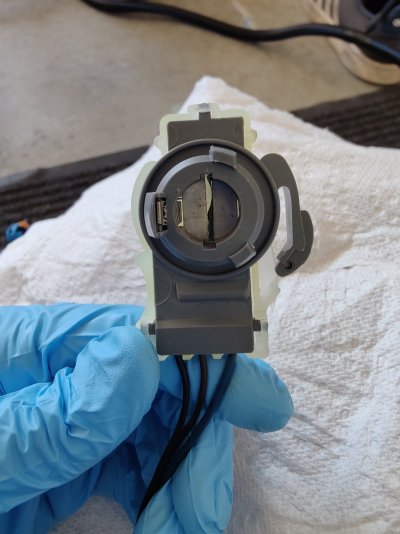
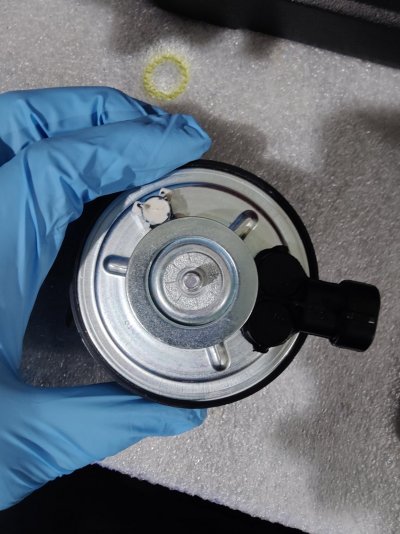
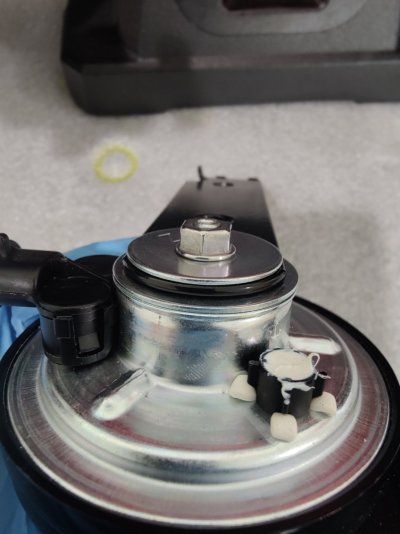
Laredo

Disclaimer: Links on this page pointing to Amazon, eBay and other sites may include affiliate code. If you click them and make a purchase, we may earn a small commission.

SNCTMPL

Supporting Member
Supporting Member
Joined
Oct 25, 2015
Messages
465
Reaction score
1,715
Location
Reno
When are you going to start this thing? I’m in need of some motivation and every time you post lately I think it’s going to be the moment when it all comes together. I just know it’s going to be glorious.
 

Laredo

I'm Awesome
Joined
Apr 25, 2023
Messages
178
Reaction score
642
Location
Arizona
When are you going to start this thing? I’m in need of some motivation and every time you post lately I think it’s going to be the moment when it all comes together. I just know it’s going to be glorious.
I hope to start the engine in 2 months. Transfer case and exhaust system aside, there are still a lot of details to address, such as cleaning electrical terminals/sockets. :D
 

Caman96

OEM Baby!
Supporting Member
Joined
Jul 17, 2020
Messages
7,192
Reaction score
14,056
Location
The Hub
@Laredo can I ask where this clip in circle goes? It is on hose from Purge Canister and routes behind TB and connects to Vapor Canister Purge Valve Switch. Does it appear broken?
You must be registered for see images attach
 

Laredo

I'm Awesome
Joined
Apr 25, 2023
Messages
178
Reaction score
642
Location
Arizona
@Laredo can I ask where this clip in circle goes? It is on hose from Purge Canister and routes behind TB and connects to Vapor Canister Purge Valve Switch. Does it appear broken?
You must be registered for see images attach
Yes, the other half is missing. From the factory, the charcoal canister purge line would have been routed above the PCV line. The item circled in the photograph is to secure the purge line to the PCV line.
 

Caman96

OEM Baby!
Supporting Member
Joined
Jul 17, 2020
Messages
7,192
Reaction score
14,056
Location
The Hub
Thank you. I doubt that clips available, maybe treasure yard part.
GM 12552963 Clip, Evap Emission Canister Harness
 
Last edited:

Laredo

I'm Awesome
Joined
Apr 25, 2023
Messages
178
Reaction score
642
Location
Arizona
Ahhh, much better. I can confirm that Dow Corning 4 insulating compound is very easy to use. It also has great reviews, with one reviewer posting a photograph of his Land Cruiser crossing a river and swearing by the product's ability to insulate against water.
 

Attachments

  • IMG20240428184839.jpg
    IMG20240428184839.jpg
    238.6 KB · Views: 12
  • IMG20240428190359.jpg
    IMG20240428190359.jpg
    191.2 KB · Views: 12
  • IMG20240428185958.jpg
    IMG20240428185958.jpg
    201.1 KB · Views: 12
  • IMG20240428190046.jpg
    IMG20240428190046.jpg
    209.2 KB · Views: 13
Last edited:

Laredo

I'm Awesome
Joined
Apr 25, 2023
Messages
178
Reaction score
642
Location
Arizona
New wiper cowl (and, not seen, transmission linkages, windshield washer nozzles and 5/32" hose), wiper arms, and wiper blades. All Genuine GM components. Nonetheless, I had to gently bend the passenger side wiper arm to make the blade contact and conform to the windshield. Initially, it was ~1" away from the windshield.

Edit: In case anyone is wondering, I used J-B Weld 31319 Black RTV Silicone Sealant & Adhesive to seal the 4 outer screw holes. It seemed to be an ideal product for this application.
 

Attachments

  • IMG20240428173813.jpg
    IMG20240428173813.jpg
    255 KB · Views: 12
  • IMG20240428173800.jpg
    IMG20240428173800.jpg
    249.6 KB · Views: 11
Last edited:

Laredo

I'm Awesome
Joined
Apr 25, 2023
Messages
178
Reaction score
642
Location
Arizona
I decided to redo the horn installation. Aside from not having a locating tab, the supplied replacement brackets are shorter and flimsy (they are designed to be bent, if necessary). As the connector is oriented higher on the Genuine GM replacement horns, I quickly discovered the wiring harness will not reach the connector on the front/high note horn. Therefore, I decided drill out the spot welds(?) on the factory horn brackets and find a way to reuse them. Mounting them to the new horns was accomplished using two machine bushings and a fender washer. And because the threaded stud on the horn is quite short, leaving only 0.5 to 1 thread protruding beyond the supplied nut, I was certain to use thread locker (there was minimal threads showing with the supplied replacement bracket as well). I'm much happier with this means of mounting. Moreover, the harness supplying power to the front/high note horn now fits without excessive tension on the harness.
 

Attachments

  • IMG20240504084935.jpg
    IMG20240504084935.jpg
    389.2 KB · Views: 4
  • IMG20240504085314.jpg
    IMG20240504085314.jpg
    317.1 KB · Views: 4
  • IMG20240504090537.jpg
    IMG20240504090537.jpg
    157.7 KB · Views: 4
  • IMG20240504090626.jpg
    IMG20240504090626.jpg
    250.8 KB · Views: 4
  • IMG20240504093422.jpg
    IMG20240504093422.jpg
    163.8 KB · Views: 4
Top