1965truckrod
Newbie
Hello all, I have been posting photos of some of the things I'm going to be implementing into my big girl. I have nearly everything I need to do the dual battery conversion, electric fans, All aluminum radiator, and all of the associated electronics involved with how I'd like to do the system.
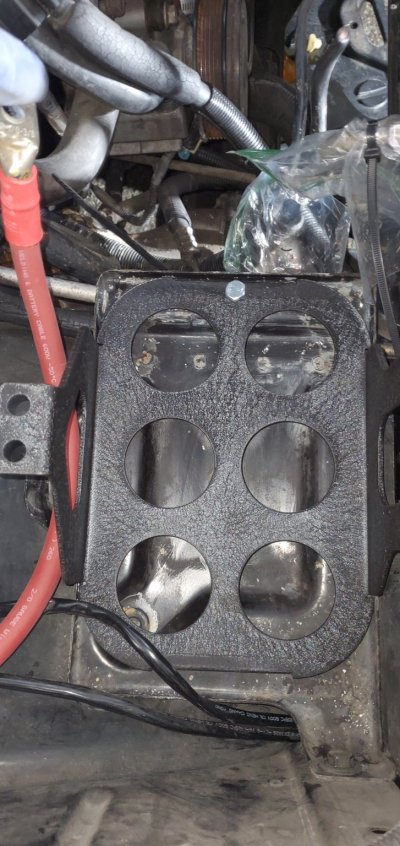
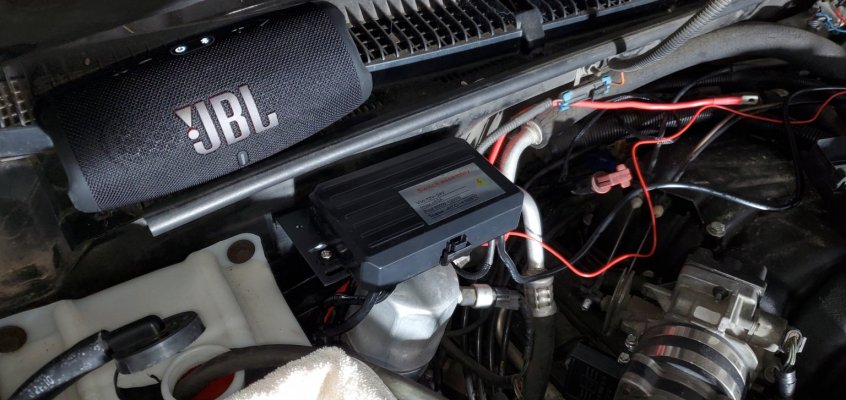
Essentially I am using a well known (to me) Dual battery isolator harness that will allow me to have one battery dedicated to Starting (and later my inverter) and the 2nd battery will run all of the electronics of the car, so worse case I can still start her if something happens. This harness is voltage sensitive so will take a signal from the 1st battery and send the charge over to the 2nd battery.
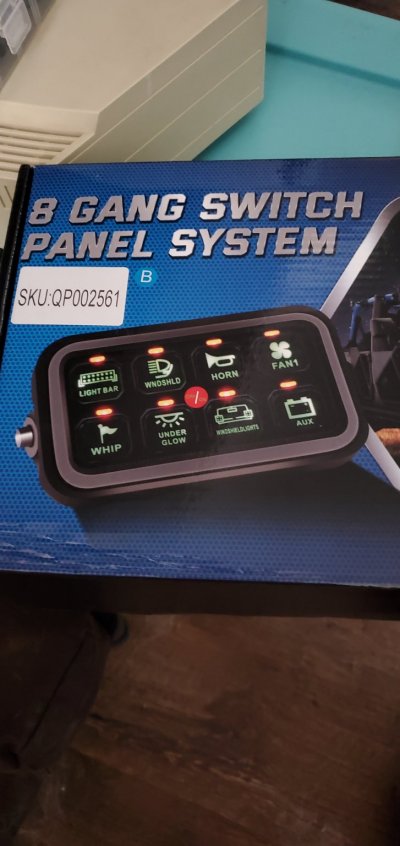
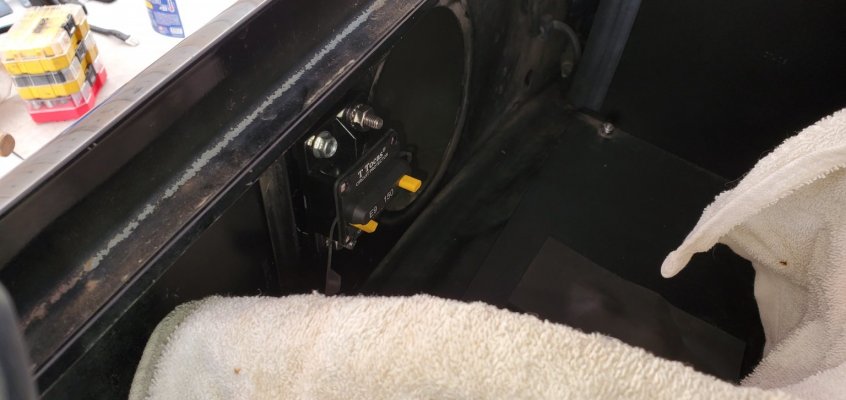
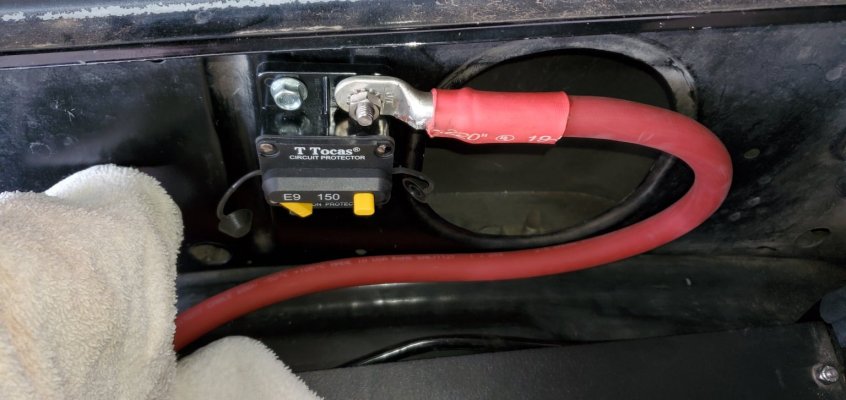
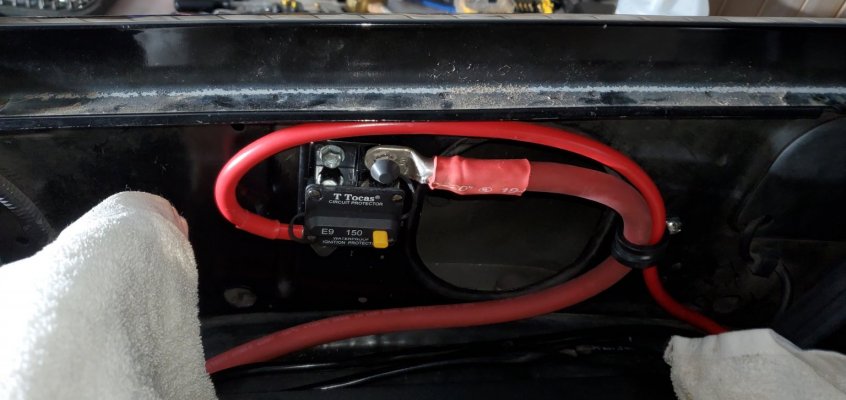
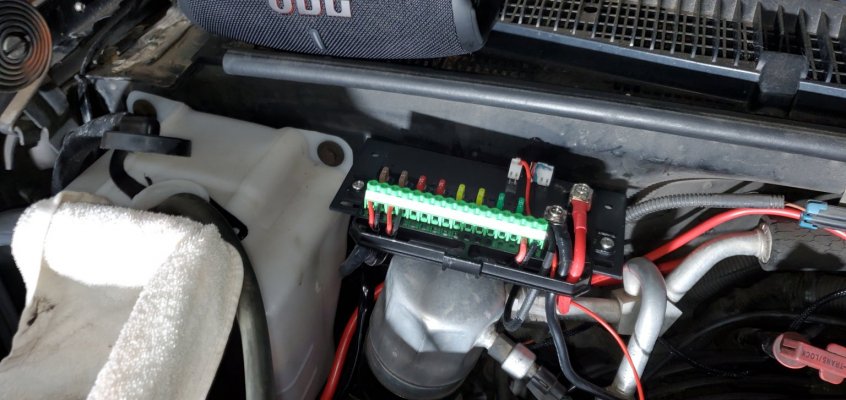
I am going to be implementing 150 AMP Circuit Breakers into the harness to save the system from any potential failures since this is a higher AMP system, I'd like to have fail safes in place. I tend to over engineer anything I do, so this would naturally make sense. I also have a Dash mounted Voltage Meter that can be switched between both batteries so I can keep an eye on what they are doing. This meter has a 3 way toggle switch, center being off, either direction lights up and of course underneath will be the voltage of associated battery. I'm also thinking about implementing another Fuse panel so I can get rid of all of the inline fuse units in my engine bay, you figure each light, etc. has an inline fuse. I'd like to clean up the engine bay wiring and also centralize all of the fuses associated with systems that have been implemented into the bay.
Being that I work on Yachts and Sailboats, I can get access to Marine grade wiring and panels at a significant discount. Most of the gear going in this setup will be Marine grade... meaning all materials are either Stainless Steel, or Brass, sometimes Copper. The kit came with about 20ft of 0 gauge wire, but I might be going to 02 or 04 depending on what I can get it in bulk. I have already made openings in the firewall that can be sealed and is scalable for additional wires if needed. I'll need to run leads to the Voltage meter and a few other things I'm going to be changing up... (I'm going to implement an override switch for the new electric fans).
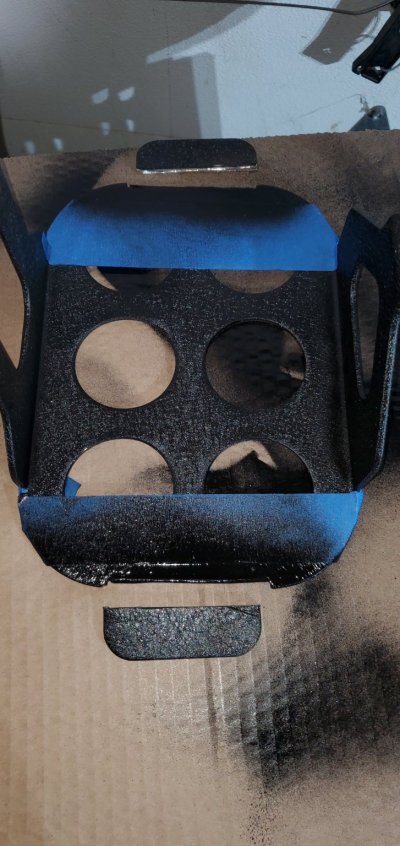
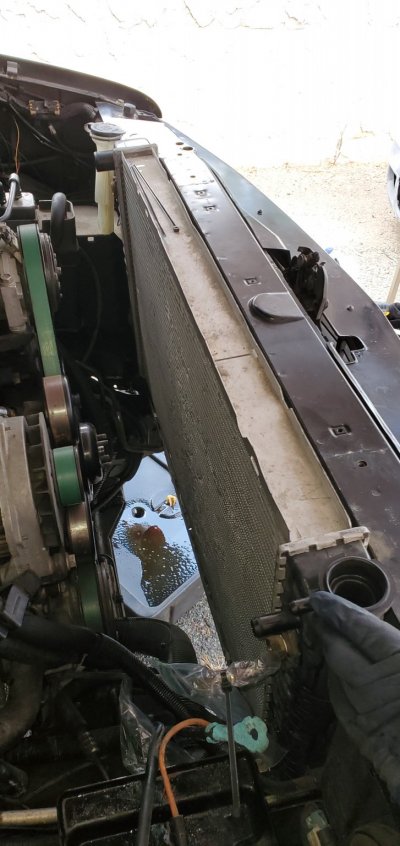
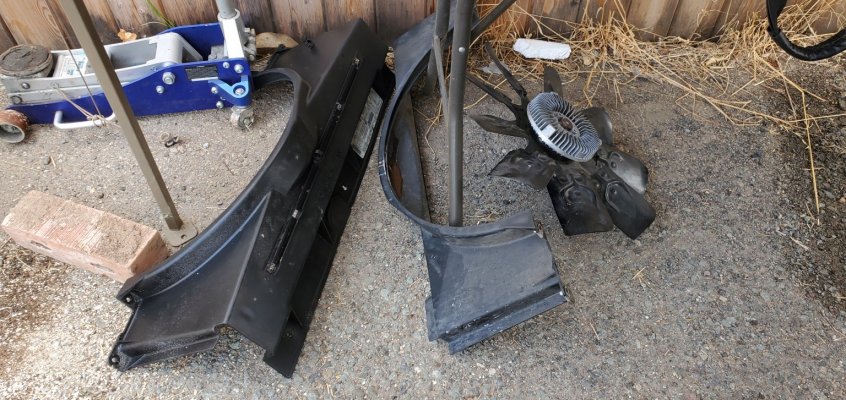
As mentioned in the build thread, I was quite impressed with the radiator build quality, the Welds are very neat and properly cleaned up. The end tanks are polished which isn't that important to me, but never the less will add some bling to the bay. I go for the Wrinkle Black finish on everything, but I'm not going to be doing that to the Radiator. I might do heat shroud if it's not too hard to get in and out. Seeing as I will eventually pull this motor to do a rebuild, when I wire up the fans, I'm going to make sure they aren't in the way and there are QD's where necessary such as the temp sensor going to the engine, etc. This radiator looks about the same size height and length, it's definitely a bit deeper than the stock tanks, but my intention was to implement as big of a radiator as I can fit in here. Removing the clutch fan is some what foreign to me as at least fan clutches can be rigged to keep cooling unlike electric fans, but this setup is very high grade materials and connectors so I have the override switch in place if needed.
The current headlights, turn signals, etc. were all added while I was doing a cam chain and gear + water pump, so none of that stuff has really been tested or adjusted, so hopefully if all goes well, I'll have a good set of Projection headlights for my low beams. the 4x fog lights at the bottom of the bumper; I'd like to implement into an off road bumper that offers offset light mounts in the bumper. If not I'll just cut the bumper and make my own mounts. They really do help with the fog that we get up in our mountains here in East County San Diego, as such they aren't going anywhere. The light bar is mounted to a set of door seam brackets, but they don't fit right and pushes the doors out a bit. I'm going to get rid of those, weld up the holes, and get a decent quality cargo cage up top that I can mount the light bar to. This will also allow me to run the rock lights that I have for the rear of the truck. Being that the windows were tinted from the factory, they are next to impossible to see at night.
The biggest issue that I haven't done that much research in is how I'm going to get a set of 35's to fit comfortably without lifting it up that much, also getting rid of the bounciness of the leveling kit. The front shocks do a great job at low speed, but the high speed bumps aren't really well controlled. I'm all for doing a regular lift, but would like to keep it under 4" if all possible.
I've made a long enough wall for now, more to come once I start getting everything installed.
Essentially I am using a well known (to me) Dual battery isolator harness that will allow me to have one battery dedicated to Starting (and later my inverter) and the 2nd battery will run all of the electronics of the car, so worse case I can still start her if something happens. This harness is voltage sensitive so will take a signal from the 1st battery and send the charge over to the 2nd battery.
I am going to be implementing 150 AMP Circuit Breakers into the harness to save the system from any potential failures since this is a higher AMP system, I'd like to have fail safes in place. I tend to over engineer anything I do, so this would naturally make sense. I also have a Dash mounted Voltage Meter that can be switched between both batteries so I can keep an eye on what they are doing. This meter has a 3 way toggle switch, center being off, either direction lights up and of course underneath will be the voltage of associated battery. I'm also thinking about implementing another Fuse panel so I can get rid of all of the inline fuse units in my engine bay, you figure each light, etc. has an inline fuse. I'd like to clean up the engine bay wiring and also centralize all of the fuses associated with systems that have been implemented into the bay.
Being that I work on Yachts and Sailboats, I can get access to Marine grade wiring and panels at a significant discount. Most of the gear going in this setup will be Marine grade... meaning all materials are either Stainless Steel, or Brass, sometimes Copper. The kit came with about 20ft of 0 gauge wire, but I might be going to 02 or 04 depending on what I can get it in bulk. I have already made openings in the firewall that can be sealed and is scalable for additional wires if needed. I'll need to run leads to the Voltage meter and a few other things I'm going to be changing up... (I'm going to implement an override switch for the new electric fans).
As mentioned in the build thread, I was quite impressed with the radiator build quality, the Welds are very neat and properly cleaned up. The end tanks are polished which isn't that important to me, but never the less will add some bling to the bay. I go for the Wrinkle Black finish on everything, but I'm not going to be doing that to the Radiator. I might do heat shroud if it's not too hard to get in and out. Seeing as I will eventually pull this motor to do a rebuild, when I wire up the fans, I'm going to make sure they aren't in the way and there are QD's where necessary such as the temp sensor going to the engine, etc. This radiator looks about the same size height and length, it's definitely a bit deeper than the stock tanks, but my intention was to implement as big of a radiator as I can fit in here. Removing the clutch fan is some what foreign to me as at least fan clutches can be rigged to keep cooling unlike electric fans, but this setup is very high grade materials and connectors so I have the override switch in place if needed.
The current headlights, turn signals, etc. were all added while I was doing a cam chain and gear + water pump, so none of that stuff has really been tested or adjusted, so hopefully if all goes well, I'll have a good set of Projection headlights for my low beams. the 4x fog lights at the bottom of the bumper; I'd like to implement into an off road bumper that offers offset light mounts in the bumper. If not I'll just cut the bumper and make my own mounts. They really do help with the fog that we get up in our mountains here in East County San Diego, as such they aren't going anywhere. The light bar is mounted to a set of door seam brackets, but they don't fit right and pushes the doors out a bit. I'm going to get rid of those, weld up the holes, and get a decent quality cargo cage up top that I can mount the light bar to. This will also allow me to run the rock lights that I have for the rear of the truck. Being that the windows were tinted from the factory, they are next to impossible to see at night.
The biggest issue that I haven't done that much research in is how I'm going to get a set of 35's to fit comfortably without lifting it up that much, also getting rid of the bounciness of the leveling kit. The front shocks do a great job at low speed, but the high speed bumps aren't really well controlled. I'm all for doing a regular lift, but would like to keep it under 4" if all possible.
I've made a long enough wall for now, more to come once I start getting everything installed.