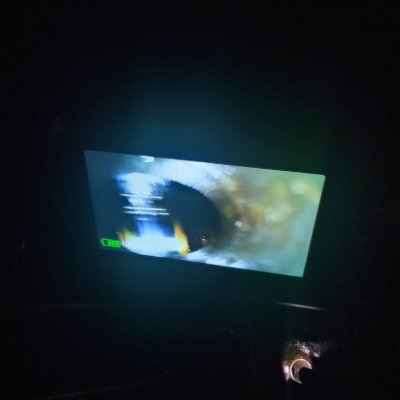
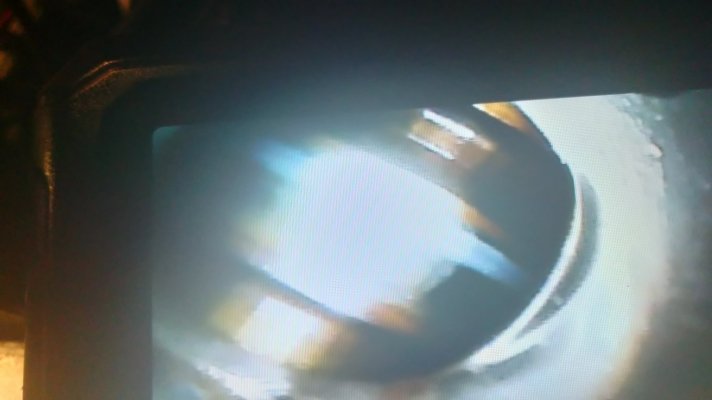
What's weird is the lifter works perfect....but there is one sided scoring....can't feel it though..
Have I found my glitter gal?
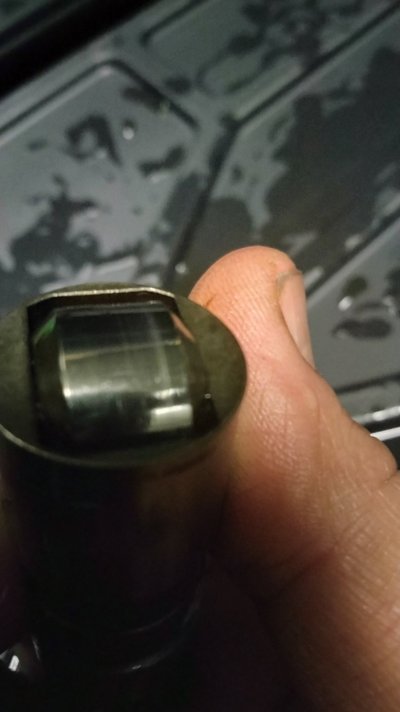
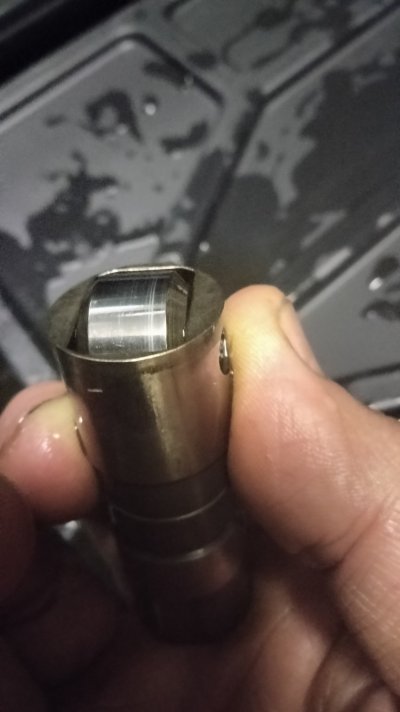
What you have uncovered is definitely an artifact of some dirt or grit getting inbetween the cam
lobe and roller on the lifter. You can see this even on newer engines that have never been opened
up since coming off the assembly line. If you YouTube old engine foundry videos, and you see how
they used a mixture of sand & glue in order to make the 'cores' (which in turn give us the no metal
areas for bores, water jackets, intake & exhaust manifold interior passages, etc) ...you discover that
a freshly poured still-steaming engine block casting is chock full of sand.
As a matter of fact, what we call 'freeze plugs' are actually there to give the folks at the foundry a way
to facilitate getting the sand out of the water jacket area surrounding the cylinder bores. Any benefit
of a 'freeze plug' releasing the pressure caused by an illegal condition (ie: engine filled with pure water
below 32°F) ...is purely an unintended side benefit.
No doubt that they get 99.99% of the sand out the brand new castings before machining them, but
every so often a few stray grains will stay embedded in the cast iron pores, and only come loose once the
car is driven off the showroom floor. And if you're lucky, the oil filter bypass is
closed when that little bit of
grit gets sucked up by the oil pump pickup, and gets trapped in the filter.
But if you are not so lucky, then if the bypass was
open (due to excessive pressure drop across the filter)
...then that bit of grit is carried along by the oil & manages to either embed itself in the soft bearing material,
or happens to ricochet in between the spinning cam and roller lifter. And no kidding, that's exactly how that
scoring happens.
Or, the engine foundry got all the sand out of the casting, but the new owner didn't clean the
area around the engine oil fill area *before* he or she opened it, so the grit surrounding the fill port makes
it's way into the pristine insides. And the scoring cycle starts.
Or course, this is a remanufactured engine, so they had to clean all the previous
fairy failure dust
out of the motor, remachine it, clean it again, and put it together. It's not much different than
keeping your CDs from skipping or keeping your old vinyl records pop & tick free -- it's all about
the cleanliness. :0)
****
I went through that long explanation for a reason. The point I'm trying to make is that you would be
surprised how many decent-running engines are out there with marks on machined surfaces from
FOD. (Foreign Object Damage.) In the aviation world there is a huge focus on FOD. And pro mechanics
doing work at your current level become fastidious when working with the spendy, close-tolerance bits
because there's no profit made while working on a 'come back'.
Now our fingertips are amazing transducers. We can feel the difference between a scored surface vs
a smooth machined surface. Believe it or not, when trying to give an engine every possible excuse to
run right for awhile longer, you can take a piece of 2000 grit sandpaper and some light lubricant (like
WD-40) and get that scored surface a light polishing. (Think polishing mom's crystal.) You aren't
trying to change the shape of the part -- instead, you are just trying to make a rubbing surface
a little friendlier for the part that it works with.
For example, if after cleaning I discovered a little scoring on the wall of a lifter bore, if I didn't like the
way it felt, then I would polish that area with the 2000-grit paper soaked in WD-40. And then
clean afterwards with the lacquer thinner. And oftentimes you can get it to feel a little better.
And if the lifter moves up & down in the bores just that much smoother, then in my mind it's a win.
Once upon a time you had to go to an Auto Body Supply store to purchase these ultra-fine grits,
but now I think I've actually seen 1500 / 2000 / 2500 & up in the larger Advance Auto stores?
By the way, for the longest time if you told me that I could take sandpaper to a smooth machined
surface inside an engine and make it even smoother, I would not have believed it. But I have
proved it to myself over the years. But since we're doing this remotely, I'd ask you to watch
this short video demonstrating that with the right technique and superfine sandpaper, you
can indeed give a piece of metal an ultra-smooth light reflecting (instead of light distorting)
mirror finish:
xc_hide_links_from_guests_guests_error_hide_media
Believe it or not, there is special tribe where the members only think about lubrication
between moving parts, and they refer to themselves as Tribologists. Seems that the
zen of lubrication is all about just how smooth you can make 2 interacting surfaces:
You must be registered for see images attach
(credit: Lehigh University website -- Deluxe rabbit hole entrance
here)
****
So there you have it. Me? As it turns out, Smooth as a baby's behind is a laudable goal
inside an engine. Just like Clean enough to eat off of. When I was a kid the old guys
would say stuff like this, and I just figured that they had been stuffing their pipes with
too much spice or something.
But over the years I've come to understand where they were coming from. And now that
you have been messing with the dilithium crystals of a modern hydraulic lifter V8, I
think you have put yourself in the position to better appreciate the science of Tribology.
"That's all I've got to say about that." -- F. 'Road Trip' Gump


), thoroughly clean and inspect the pushrods, if you haven't already, to ensure they can deliver oil properly to the rockers. (Sorry if you've done this and I missed it).