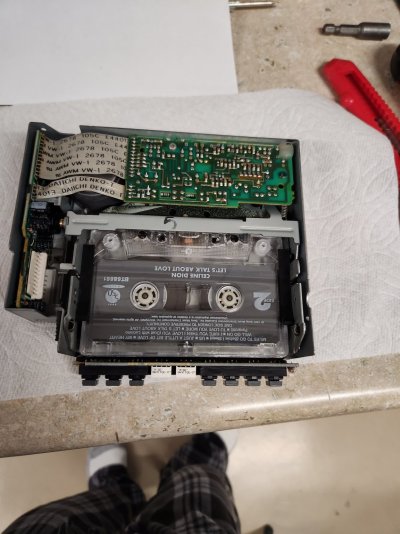
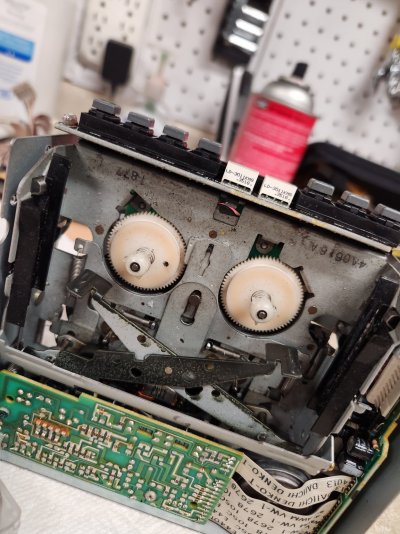
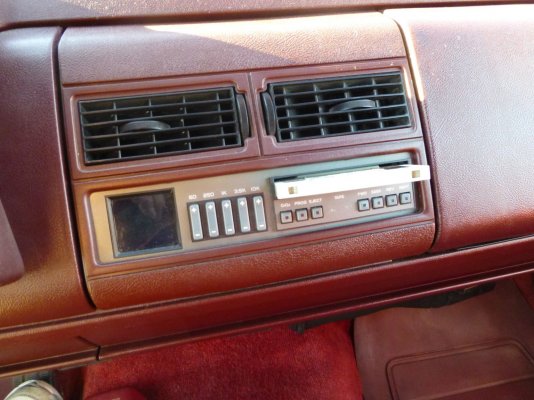
Pull apart the unit. There's a good chance the drive belt was already loose and spraying stuff in there has made it so the belt will slip on the three pulleys it runs on.
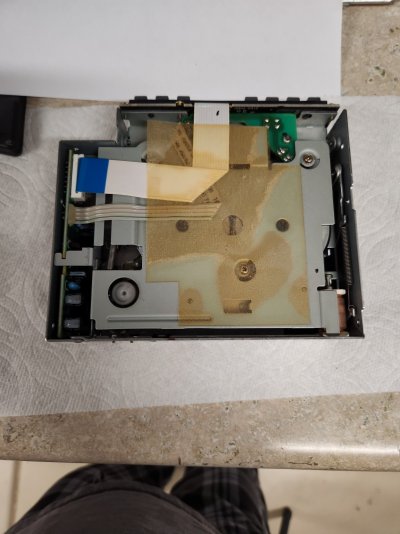
I see you've already gotten the top cover off - now you need to remove four screws holding on the front panel -one on each side, two on the bottom. Disconnect the two ribbon cables from the equalizer's front circuit board. Pull the front cover forward from the main body.
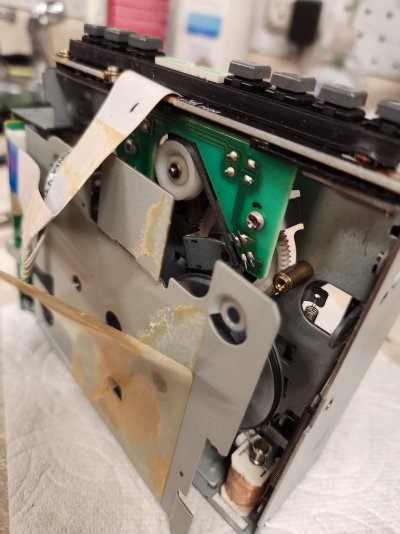
Then there are four screws holding the tape player assembly to the main body -two on the right side, one on the back, and one on the front to the left of the buttons. Then rotate the player assembly and lift up.
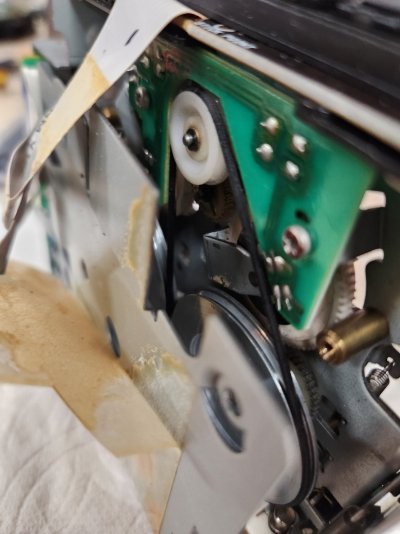
On the bottom of the player is a plate covering the drive belt and pulleys, held on by three small + screws. Remove that.
After you get that plate out of the way, it's possible to use your finger to wind the large pulley closer to the small pulley clockwise - the tape should eject after several turns. If it doesn't, push the nearby solenoid rod toward the small solenoid while turning the pulley. Don't turn the deck right side up at this point because the two large pulleys can and WILL fall out.. Granted it's simple to put them back in.
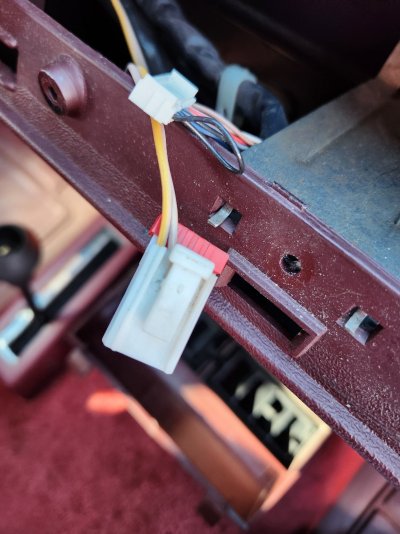
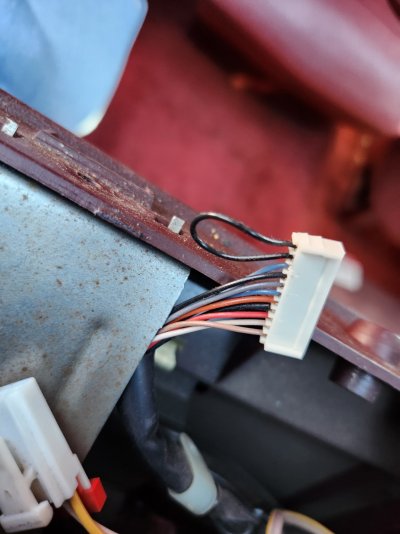
Clean up the parts, put in a new belt if you can, reverse disassembly, then just plug the deck back into the CDM to power it with the truck key on to test. The connector with a lot of wires can be unplugged from the CDM unit next to your accelerator btw.
And what's scary is I've screwed around with these decks enough to recall all that from memory

Ugh and then I forgot it's actually very easy to eject a tape manually without all the extra steps... There's a flat bar that goes over the open side of the cassette (where the head and capstans contact the tape) .... Push that toward the circuit board on the back of the deck and the tape ejects. In fact, if you push it fast enough, the tape may rocket right out of the thing lol. But, if that doesn't work, then the above paragraphs weren't a complete waste of time