The Overhead Console Thread

Disclaimer: Links on this page pointing to Amazon, eBay and other sites may include affiliate code. If you click them and make a purchase, we may earn a small commission.

Californiadad

Newbie
Joined
May 30, 2011
Messages
34
Reaction score
2
I just picked up an overhead console from a 99 Chevy Tahoe in grey. It already had the blank front AC control plate. I will be replacing my saggy headliner at the same time I install the console.

On a side note.... If I want to install one of those rear view mirrors with the compass and temp indicators, what all do I need to remove from the donor vehicle besides the mirror??
 

dusterbd13

I'm Awesome
Joined
Jan 9, 2011
Messages
263
Reaction score
178
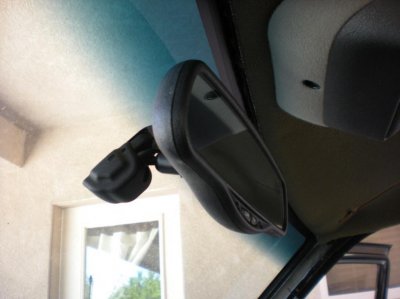
outside temp sensor as well. depends on the vehicle on where its located.

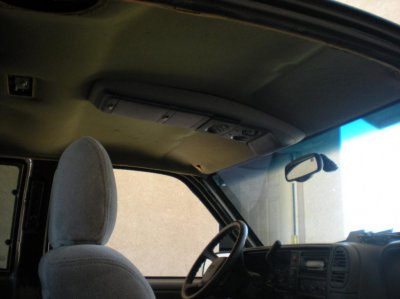
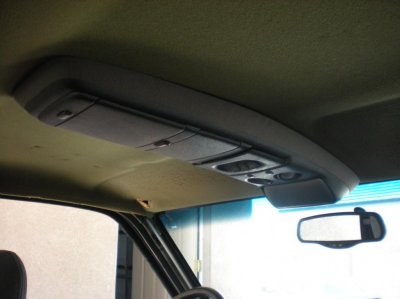
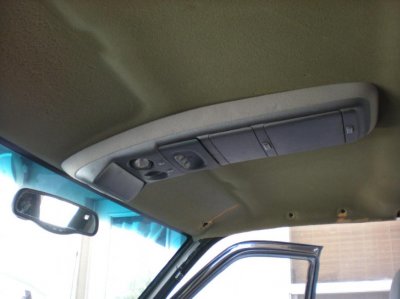
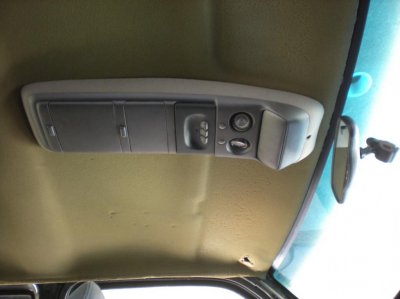
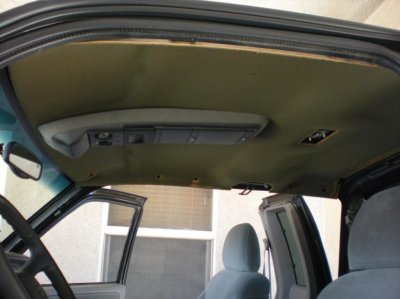
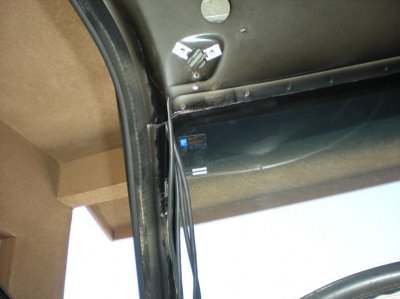
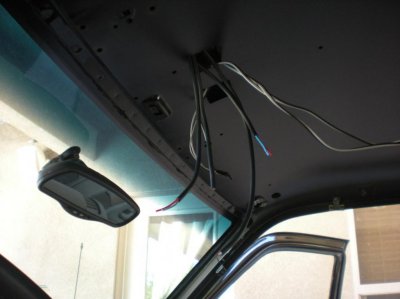
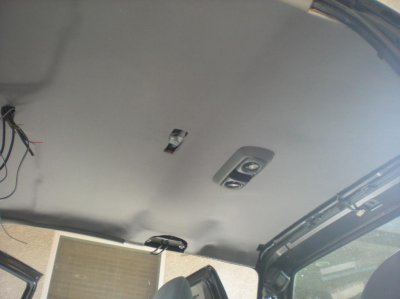
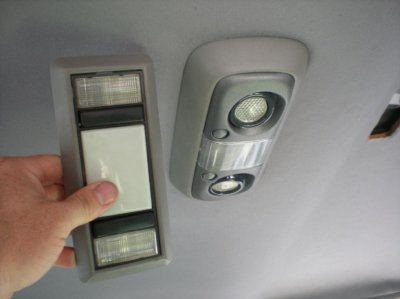
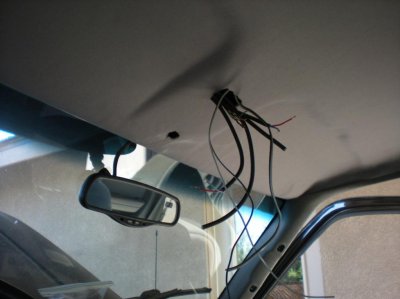
on the wiring of the overhead map lights, what im hearing works is to use the constant hot to the dome light to p[ower them (orange wire from truck connected to the orange wire from console). if you connect the ground to the ground for the overhead, the onbly time the map lightes would work is with the doors open, correct? the negative side is whats switched on most vehicles, is the fullsize any different?
reason i ask is that as soon as mine comes out of paint, im going to finish wiring it, and wanted to make sure that i just need to ground the ground side, not do anything funky.

Michael
 

Californiadad

Newbie
Joined
May 30, 2011
Messages
34
Reaction score
2
Oh I just found this info about the mirror. Im going monday morning to the junkyard I saw a few trucks there with the compass/temp/dimming mirror.

Well, you need switched 12 volts of power when the ignition is turned on; then you need a ground. Then, if you want the mirror to not dim when you are in reverse you need to connect one wire to the reverse lights. Then your driver's side mirror may have the possibility to dim also in conjunction with the rear view mirror if you connect the wiring. The dimming and the compass will work with just the 12volts and ground; however, you need to ground out the reverse lights wire if not connected in order for the mirror to work. For the temp sensor you need to run the wires from the sensor through the firewall and to the mirror.

The wiring for the mirror is

GM wire harness color function

PIN 1 PINK POWER +12 volts

PIN 2 BK CHASSIS, GND

PIN 3 LT GRN BACKUP LIGHTS

PIN 4 GY TO AUTO DIM OUTSIDE MIRROR

PIN 5 PINK TO AUTO DIM OUTSIDE MIRROR

PIN 6 DR GRN/WT TEMP PROBE

PIN 7 BK/WT TEMP PROBE

Note: Pin 3 is to be connected to the backup lights to turn off the auto dim feature in reverse. If you intend not to use this feature connect the LT GRN wire to chassis ground. If this pin is floating the auto dim will not work properly
 

Southern Pride

I'm Awesome
Joined
Feb 7, 2010
Messages
2,777
Reaction score
26
Location
Memphis
Hey guys just picked up a wireless back up camera and 4" monitor today for $100...It's going in the overhead console I have a piece of black diamond plate already mounted in the front part of the console right above the rear view mirror . SO, I'm handing it over to my buddy @ the machine shop tomorrow and he's going to cut it out perfect to place the screen, should look badass.
 

Mean Green

I'm Awesome
Joined
Jan 17, 2011
Messages
5,294
Reaction score
141
Location
Minnesota
Hey guys just picked up a wireless back up camera and 4" monitor today for $100...It's going in the overhead console I have a piece of black diamond plate already mounted in the front part of the console right above the rear view mirror . SO, I'm handing it over to my buddy @ the machine shop tomorrow and he's going to cut it out perfect to place the screen, should look badass.

Be damn sure to post some pics when you get it installed! I've been considering doing this myself :cheers:
 

JJZ71

OBS for life
Joined
Jan 16, 2011
Messages
2,827
Reaction score
27
Location
MI
^^^ What he said. I HAVE to see it when it's done!^^^
 

Californiadad

Newbie
Joined
May 30, 2011
Messages
34
Reaction score
2
Well I started on my truck this morning. Here are a few pictures before I removed the headliner and rear view mirror, and some of where im at now.
 

Attachments

  • DSCN3958.jpg
    DSCN3958.jpg
    59.8 KB · Views: 273
  • DSCN3945.jpg
    DSCN3945.jpg
    67.1 KB · Views: 262
  • DSCN3942.jpg
    DSCN3942.jpg
    57.8 KB · Views: 329
  • DSCN3951.jpg
    DSCN3951.jpg
    56.8 KB · Views: 277
  • DSCN3952.jpg
    DSCN3952.jpg
    60.8 KB · Views: 272
  • DSCN3961.jpg
    DSCN3961.jpg
    67.7 KB · Views: 261
  • DSCN3957.jpg
    DSCN3957.jpg
    62.8 KB · Views: 288
  • DSCN3956.jpg
    DSCN3956.jpg
    58.8 KB · Views: 290
  • DSCN3962.jpg
    DSCN3962.jpg
    69.1 KB · Views: 284

Californiadad

Newbie
Joined
May 30, 2011
Messages
34
Reaction score
2
Here are a few updates of my overhead install and the homelink and mirror. Sorry they are not in order, you get the point
 

Attachments

  • DSCN3972.jpg
    DSCN3972.jpg
    67.9 KB · Views: 313
  • DSCN3975.jpg
    DSCN3975.jpg
    57.3 KB · Views: 300
  • DSCN3982.jpg
    DSCN3982.jpg
    47 KB · Views: 288
  • DSCN3974.jpg
    DSCN3974.jpg
    57.8 KB · Views: 264
  • DSCN3979.jpg
    DSCN3979.jpg
    94.1 KB · Views: 275
  • DSCN3986.jpg
    DSCN3986.jpg
    51.3 KB · Views: 353
  • DSCN3980.jpg
    DSCN3980.jpg
    36.8 KB · Views: 265
  • DSCN3983.jpg
    DSCN3983.jpg
    64.8 KB · Views: 289
  • DSCN3977.jpg
    DSCN3977.jpg
    56.9 KB · Views: 309
  • DSCN3981.jpg
    DSCN3981.jpg
    69.1 KB · Views: 302
  • DSCN3971.jpg
    DSCN3971.jpg
    83.3 KB · Views: 283
Top