I'd be willing to bet I have more experience doing wheel bearings than anyone else here - my military career field involves performing inspections on equipment that requires cleaning and repacking wheel bearings. I read the last sentence above about replacing bearing races requiring "a punch and hammer and a lot of cussing" and I had to think waaaay back to remember struggling with the races. I was honestly confused for a moment.
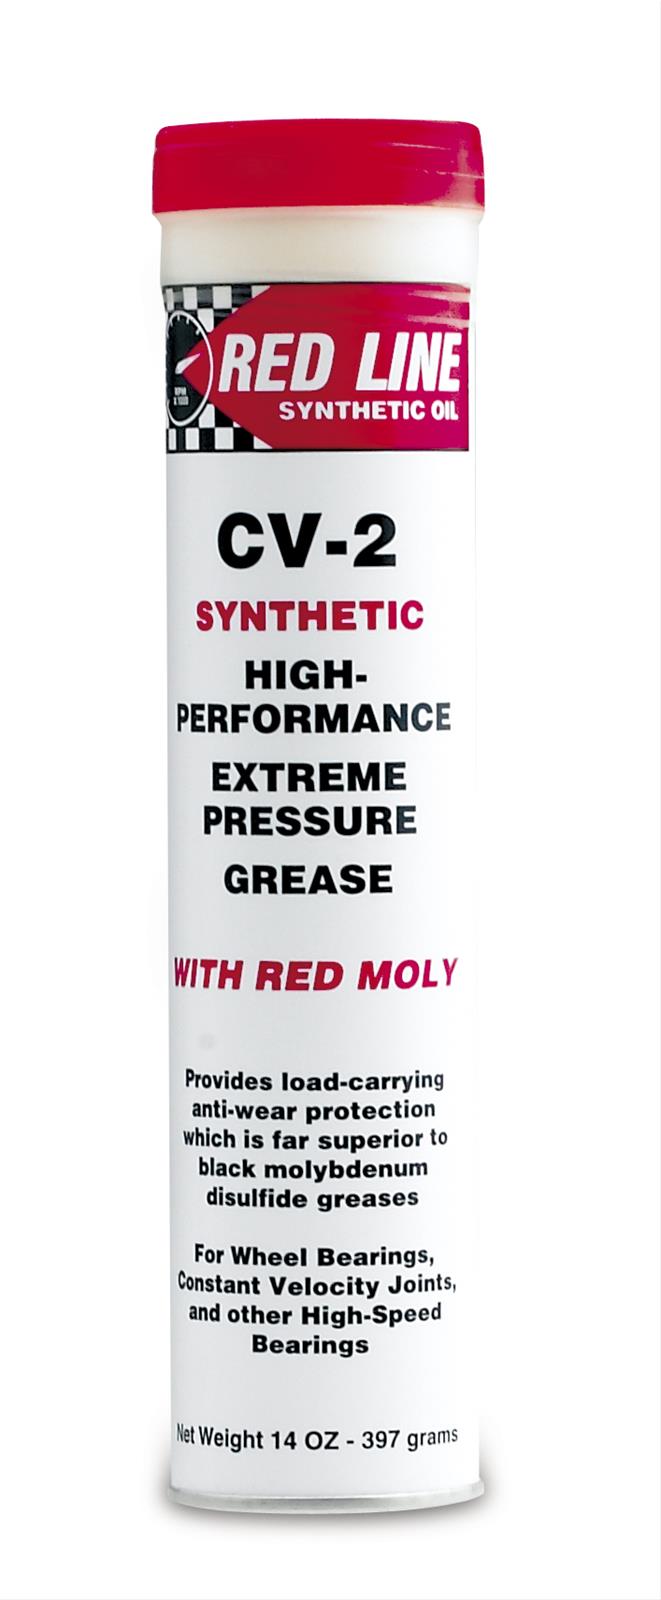
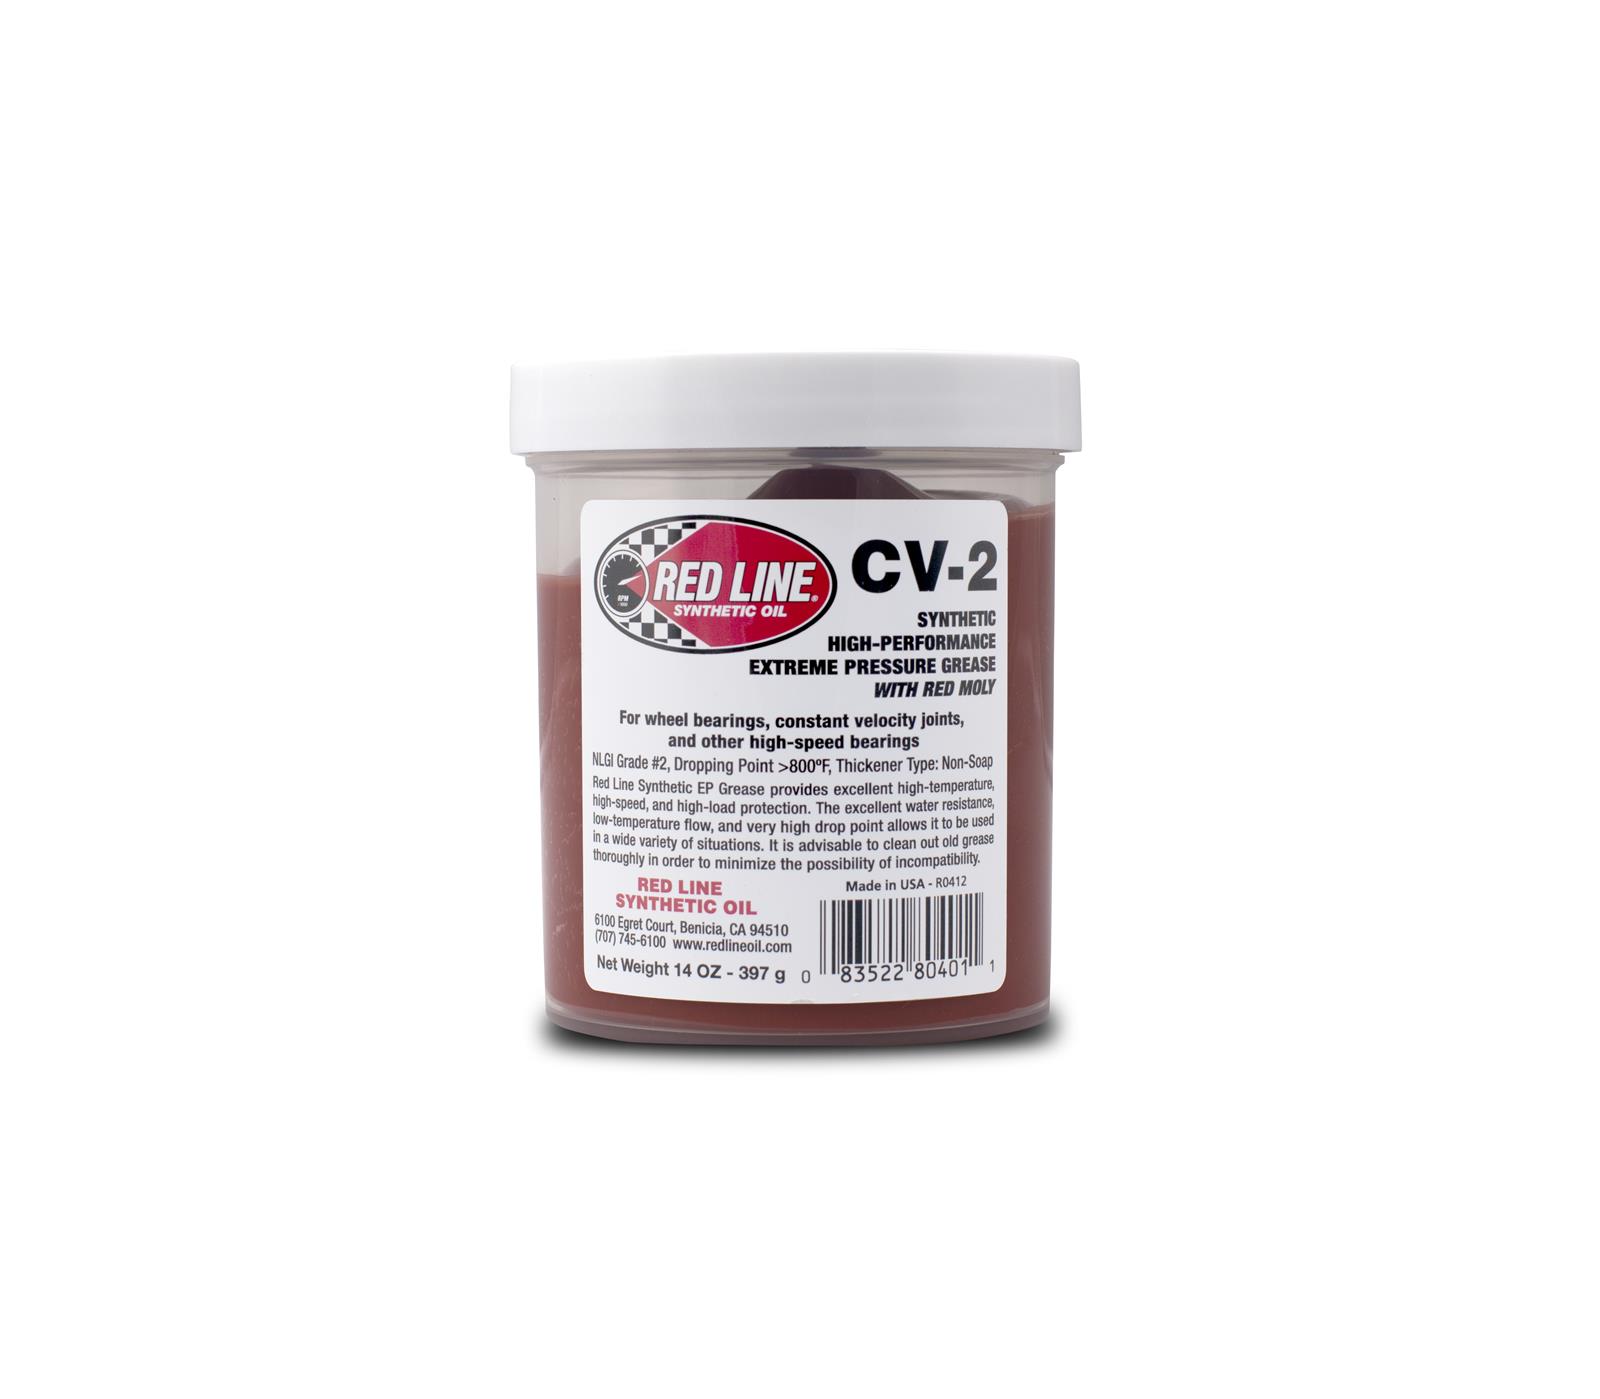
Bearings don't have to be perfectly packed, but they need plenty of grease inside the cages.
If you merely pack the wheel bearings and don't add grease inside the hubs or bearing cap, you are absolutely doing it wrong. I've had to clean up a bunch of rust inside hubs because of this. I add a plop of grease inside the hub, and I add a plop of grease inside the cap. Don't overfill your hub with grease or when it heats up you can push the seal out.
I never seat the seals all the way down. Flush with the hub is perfect UNLESS a groove has been worn on the spindle. If that's the case, set the seal a little deeper or a little shallower. I don't like leaving the seal above flush, so typically I'll set it a little deeper.
If the dust cap is damaged, don't try and make it work, don't try and seal it with RTV. Replace it.
When tightening wheel bearings, the old school thought was to tighten it snug and back it off two flats. That always leaves your bearings too loose. On my Mustang that was 1/4" play in the toe. I tighten until it's snug (probably about 10 lb/ft), and only back it off to where I can get a cotter pin through.
When removing the races, it's simply a matter of confidence and force. Always use a brass punch if available, and always use a heavy hammer. Hold the punch firmly against the race and hit that mother-lover like you mean it. Alternate sides with every strike. It will pop free, even if it's rusty. If I can teach a 120 lb female who's not sure why she's in a maintenance career field to remove bearing races like a pro, you can do it, too. Installation is the opposite of removal, except that the lip of the race is even smaller. If you don't have a brass punch and you use steel, you can't miss, and you can't hit too hard or you'll buckle the edge of the race. Keep hammering it down until the race fully seats. As Frank mentioned above, you'll hear the tone of the hammer strike change when it bottoms. I always like to double-check with my finger to check that the race is all the way down - be careful, there may be sharp edges.
It's a good idea to pop that bearing cap off annually and look at the grease. If it's clear and has the original color, it's likely fine. If the color is fading to black, you have metal contamination - take it apart, clean the hub and bearings, examine the bearings, replace whichever is bad, and replace the seal. If the grease is opaque, you got moisture in the hub. Take it apart, clean it, inspect, and replace the grease and seal.
Last edited: