I made a few posts on my 454 rebuild and hop-up in the general vortec thread that really should be in a new thread, so here it is..
My 97 K3500 extended cab dually has 230,000 hard miles, so I bought a L29 7.4/454 from a rolled suburban to rebuild and swap in. It allegedly had under 20k miles, and was in storage for about 15 years. I got it complete for $1200. The old engine is still running pretty well except for leaks, smoking, and hard hot-starting, so I can take my time and build the 99 for much better power and mileage. I tore it down and found it was in fact low miles, though probably more like 20-30k. Everything was in great shape except the bearings. Both the rod and mains had strange patchy wear marks like metal particles were trapped under the bearing shells. That wouldn't surprise me - I once took apart a chevy 14 bolt full-float axle and found piles of tapping chips trapped under the carrier bearing caps, which prevented proper bearing preload, which caused ring gear failure. Idiots!
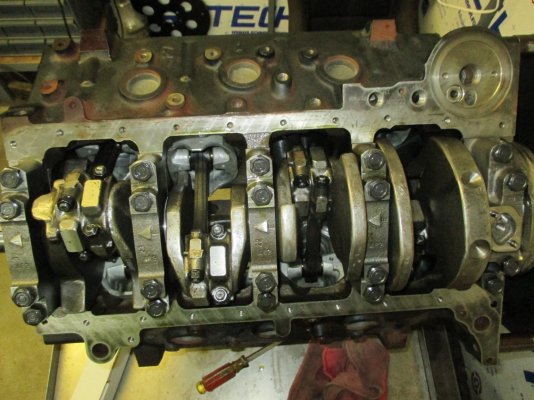
Anyway the block was decked .010 and torque-plate honed, the crank was deburred and ground .010 under, and the rods were resized. The stock pistons are being reused with new rings. I got a .005 oversize ring set and file-fit the rings for .018" on top and .010 in the second. I wanted a Comp camps Xr roller cam, but they are back ordered for months right now. Instead I sent the stock cam to Delta Cams in Washinton for a regrind. They reshaped it for more lift and duration, similar to the XR profile, more advance, and narrowed the lobe separation angle. Regrinding reduced the base circle diameter, but that's ok since it's getting an adjustable valvetrain with roller rockers.
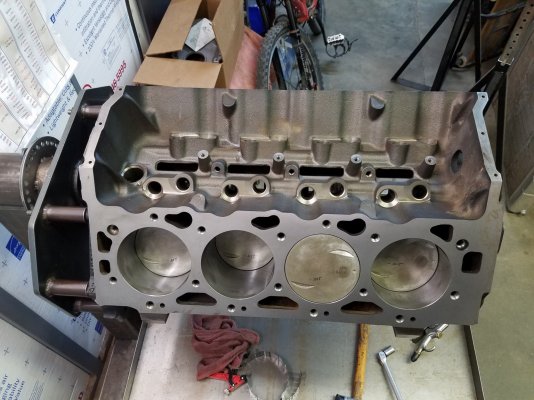
I put the crank and pistons in, and found the pistons are still .015" below deck. That means they were .025 below originally before decking the block. That is stupid. The 'quench zone' is the area between the top of the piston and the flat head surface at TDC. Excess quench space is nothing but bad.
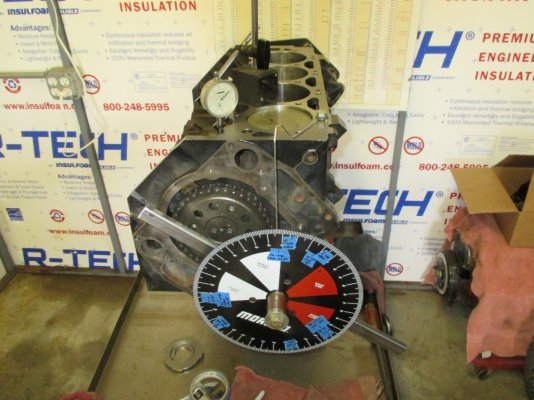
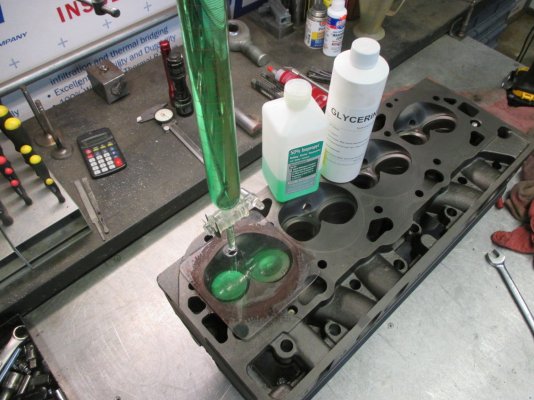
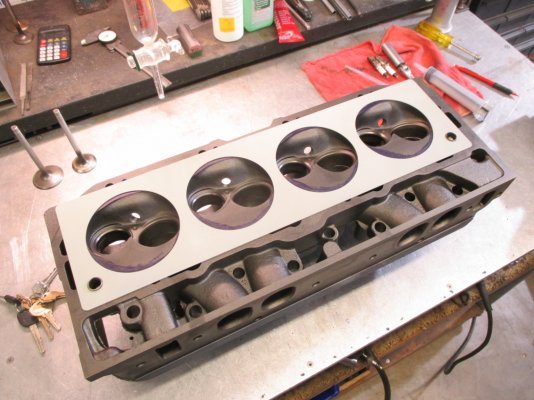
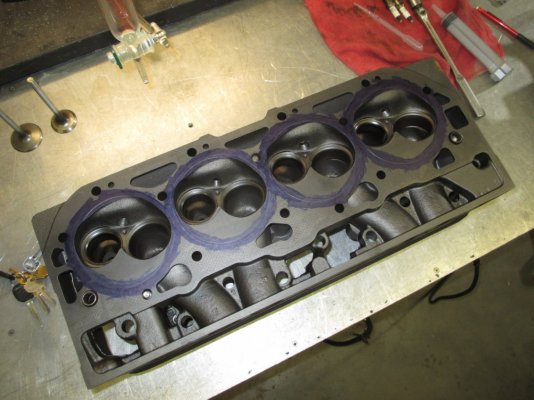
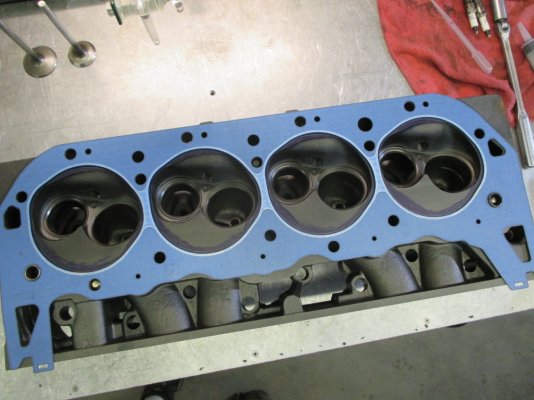
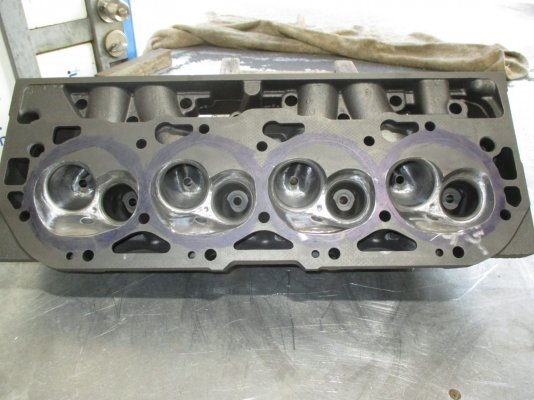
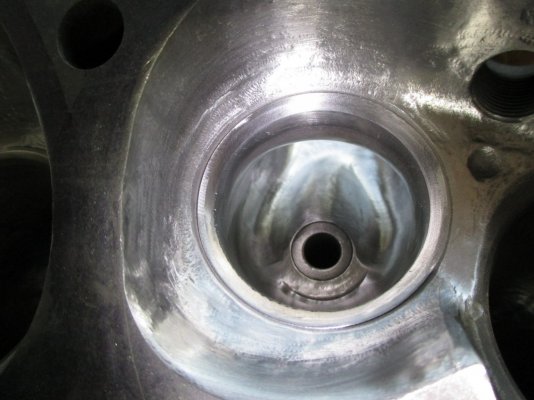
I put the cam in with the stock timing set to see what the new profile looks like. Sharpy marks on the blue tape is showing where opening and closing is happening at .006" and .050" tappet lift, plus the lobe centerlines. .050 duration is now 204 int/206 exh, with lift of .510 int/.520 exh, and lobe separation of 112°. Timing relative to the crank is still 2° retarded, improved from 6° retarded originally. I will correct that to 2° advanced with a new comp cams timing set that hasn't arrived yet. Right now I'm working on the heads, then it's going in with headers and a 0411 computer and new wiring harness. This engine cannot help running much better!
My 97 K3500 extended cab dually has 230,000 hard miles, so I bought a L29 7.4/454 from a rolled suburban to rebuild and swap in. It allegedly had under 20k miles, and was in storage for about 15 years. I got it complete for $1200. The old engine is still running pretty well except for leaks, smoking, and hard hot-starting, so I can take my time and build the 99 for much better power and mileage. I tore it down and found it was in fact low miles, though probably more like 20-30k. Everything was in great shape except the bearings. Both the rod and mains had strange patchy wear marks like metal particles were trapped under the bearing shells. That wouldn't surprise me - I once took apart a chevy 14 bolt full-float axle and found piles of tapping chips trapped under the carrier bearing caps, which prevented proper bearing preload, which caused ring gear failure. Idiots!
Anyway the block was decked .010 and torque-plate honed, the crank was deburred and ground .010 under, and the rods were resized. The stock pistons are being reused with new rings. I got a .005 oversize ring set and file-fit the rings for .018" on top and .010 in the second. I wanted a Comp camps Xr roller cam, but they are back ordered for months right now. Instead I sent the stock cam to Delta Cams in Washinton for a regrind. They reshaped it for more lift and duration, similar to the XR profile, more advance, and narrowed the lobe separation angle. Regrinding reduced the base circle diameter, but that's ok since it's getting an adjustable valvetrain with roller rockers.
I put the crank and pistons in, and found the pistons are still .015" below deck. That means they were .025 below originally before decking the block. That is stupid. The 'quench zone' is the area between the top of the piston and the flat head surface at TDC. Excess quench space is nothing but bad.
I put the cam in with the stock timing set to see what the new profile looks like. Sharpy marks on the blue tape is showing where opening and closing is happening at .006" and .050" tappet lift, plus the lobe centerlines. .050 duration is now 204 int/206 exh, with lift of .510 int/.520 exh, and lobe separation of 112°. Timing relative to the crank is still 2° retarded, improved from 6° retarded originally. I will correct that to 2° advanced with a new comp cams timing set that hasn't arrived yet. Right now I'm working on the heads, then it's going in with headers and a 0411 computer and new wiring harness. This engine cannot help running much better!