1990 K3500 454 Stick Shift

Disclaimer: Links on this page pointing to Amazon, eBay and other sites may include affiliate code. If you click them and make a purchase, we may earn a small commission.

packer0440

I'm Awesome
Joined
Oct 10, 2021
Messages
247
Reaction score
313
Location
Cleveland, OH
Hello all,

Thought I would post a build thread on a truck I've been fixing up. I seem to have lost some of the pictures, but I'll post what I can find.

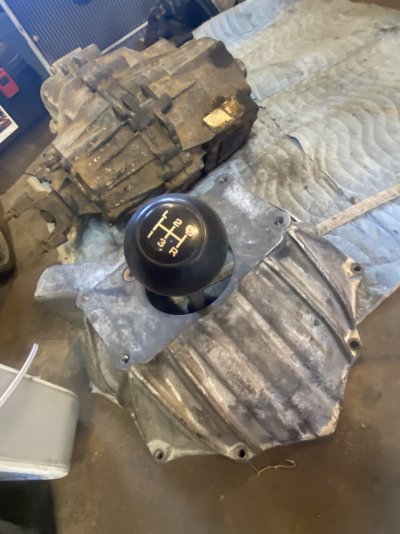
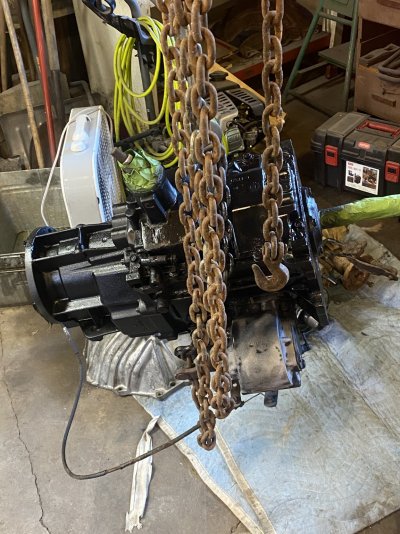
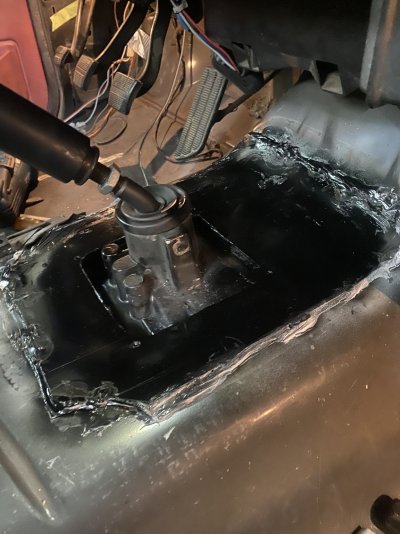
Background: my grandpa recently gifted me his '92 C3500 dually last year (although it will always be "grandpas truck"). He was looking for another vehicle for a bit, and I saw this old farm truck pop up on marketplace. I had never seen a GMT400 with the SM465, let alone with a big block. It also happened to be the exact same exterior and interior color as the 92.
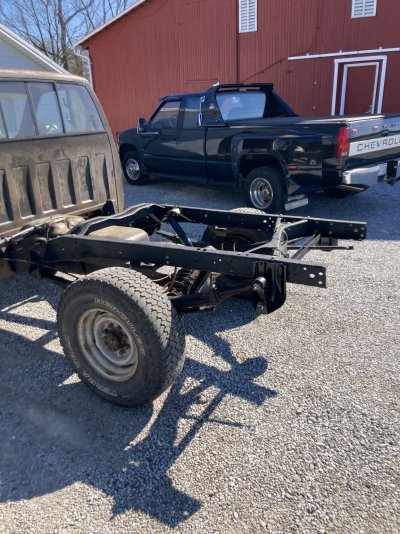
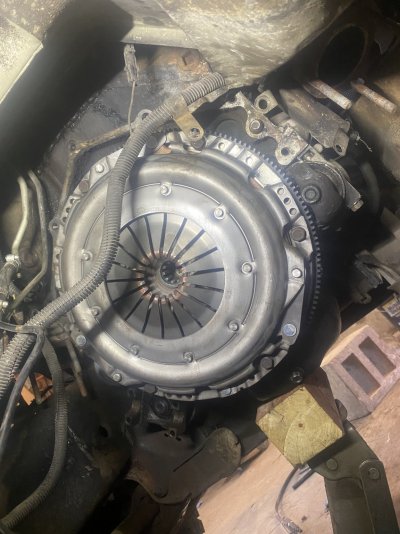
Pros: Mechanically strong, no major engine issues, 4x4 worked great, had a new fuel tank/pump, lines, brake lines, new clutch, good tires, relatively straight other than a few dents. Frame was also in pretty good shape.
Cons: Rusty body, basically no paint, a few leaks here and there, and some of the frame brackets were starting to rust pretty bad.

After checking it out, we decided to pull the trigger and go for it. It was an ugly truck for sure, but it ended up being a pretty good buy.

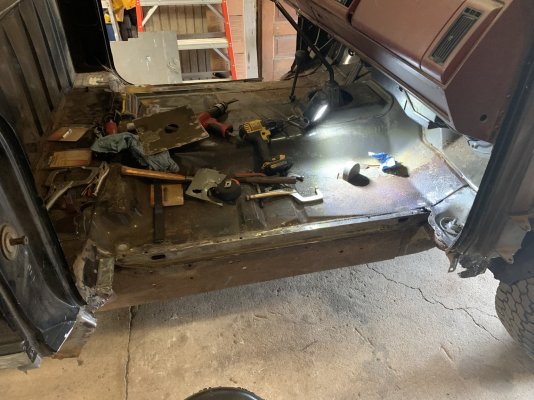
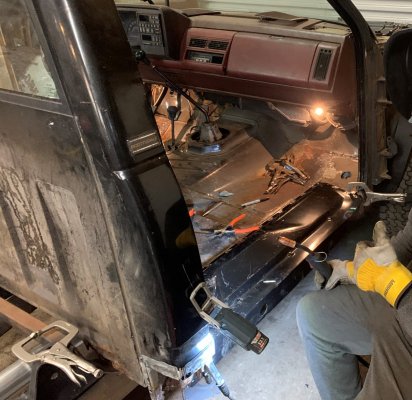
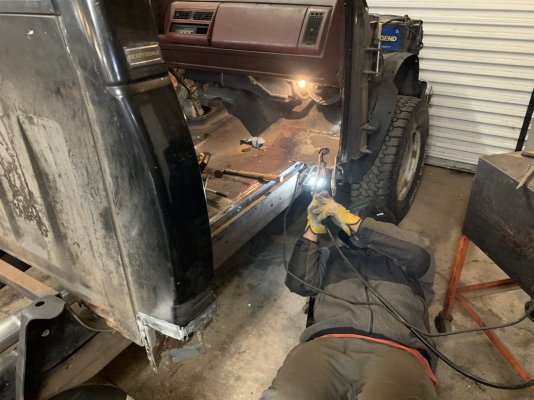
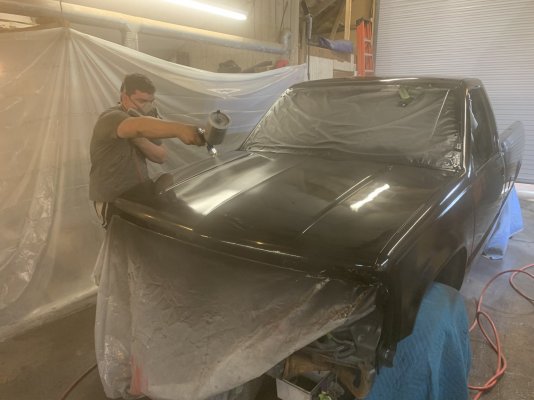
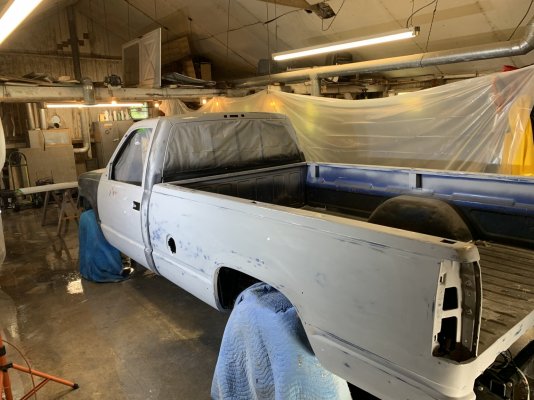
It did an hour drive home without any hiccups. When we made it back, we got right to work on it. As you can see, there were basically no rockers to speak of, so we had our work cut out for us as far as body work went.
 

Attachments

  • IMG_1660.jpg
    IMG_1660.jpg
    332.6 KB · Views: 29
  • IMG_1661.jpg
    IMG_1661.jpg
    309.8 KB · Views: 29
Last edited:

packer0440

I'm Awesome
Joined
Oct 10, 2021
Messages
247
Reaction score
313
Location
Cleveland, OH
The first order of business was to get rid of the old bed (wheel wells were too far gone) and take care of the shock and rear spring brackets, which were close to letting go. Most of the rust back there was due to dirt being shoved in every orifice of the trailer hitch and never being washed. Thankfully, no serious rust on the frame so new brackets & trailer hitch took care of it. While we were back there, also put in new spring bushings and rebuilt the rear brakes with wheel seals (which had soaked one side).
 

Attachments

  • IMG_1423.jpg
    IMG_1423.jpg
    481.1 KB · Views: 18

packer0440

I'm Awesome
Joined
Oct 10, 2021
Messages
247
Reaction score
313
Location
Cleveland, OH
Unfortunately I can't find the pictures for the front end, but I also took care of the front brakes (had a very fun time removing the hubs!) and ball joints, which were OK but overstuffed with grease and had the boots ripped. Next order of business was the body dirty work. The inner rockers/outer floors were unfortunately too far gone, so they had to go
 

Attachments

  • IMG_4664.jpg
    IMG_4664.jpg
    363.9 KB · Views: 18

packer0440

I'm Awesome
Joined
Oct 10, 2021
Messages
247
Reaction score
313
Location
Cleveland, OH
After a bit of searching, we tracked down some used body parts to make it into a decent looking truck. Grandpa found a rust free bed out west for 300 bucks, and I was able to source the other metal from local wrecking yards.

For paint, we decided to stick with the original black. While it was certainly the most difficult choice for a first time at-home paint job, I really dig the black with red interior, and just wanted everything to match without a huge amount of additional work.

Didn't try to go for a show finish; we made due with the old chicken coop-turned-garage and got a decent driver paint job.
 

Attachments

  • IMG_4861.jpg
    IMG_4861.jpg
    197.5 KB · Views: 16
  • IMG_4838.jpg
    IMG_4838.jpg
    277.5 KB · Views: 16

packer0440

I'm Awesome
Joined
Oct 10, 2021
Messages
247
Reaction score
313
Location
Cleveland, OH
After all this work, we started daily driving it around to work out any mechanical kinks. Fixed the AC (works great, although I am plagued by a cracked evap case that leaks inside, dreading this repair), cruise control, and installed a functional factory radio.

The SM465 drove fine, but going any faster than 55, you can't help but reach for that next gear which isn't there.

Enter: NV4500. Got lucky and found a 92 model with very low miles, which included the bellhousing and a bonus PTO.
 

Attachments

  • IMG_2331.jpg
    IMG_2331.jpg
    229.8 KB · Views: 18
  • IMG_2329 (1).jpg
    IMG_2329 (1).jpg
    422.5 KB · Views: 19

packer0440

I'm Awesome
Joined
Oct 10, 2021
Messages
247
Reaction score
313
Location
Cleveland, OH
With a bit of elbow grease, working around seized torsion bars, out came the trans and transfer case. Luckily, the clutch was indeed brand new, and did not need changed.
 

Attachments

  • IMG_2419.jpg
    IMG_2419.jpg
    309.8 KB · Views: 8
  • IMG_2418.jpg
    IMG_2418.jpg
    285.9 KB · Views: 8
  • IMG_2415.jpg
    IMG_2415.jpg
    330.5 KB · Views: 8

packer0440

I'm Awesome
Joined
Oct 10, 2021
Messages
247
Reaction score
313
Location
Cleveland, OH
With the trans out, took the opportunity to catch up on some much needed maintenance, fixing the leaky 2-piece rear main and oil pan gasket. Unfortunately I couldn't use the BW Tcase that came with the new trans, so instead did a quick refresh of the NP241. Also prepped the shifter hole to accommodate the NV4500.
 

Attachments

  • IMG_2477.jpg
    IMG_2477.jpg
    333.1 KB · Views: 8
  • IMG_2462.jpg
    IMG_2462.jpg
    347.1 KB · Views: 8
  • IMG_2472.jpg
    IMG_2472.jpg
    251.5 KB · Views: 8

packer0440

I'm Awesome
Joined
Oct 10, 2021
Messages
247
Reaction score
313
Location
Cleveland, OH
New trans installed. The large hole from the SM465 did make install a little easier, but I did have to find a way to cover the hole. Wasn't pretty, but hey, you never see it after it's covered up.
 

Attachments

  • IMG_2480.jpg
    IMG_2480.jpg
    358.3 KB · Views: 18
  • IMG_2482 (1).jpg
    IMG_2482 (1).jpg
    308 KB · Views: 18
  • IMG_2484.jpg
    IMG_2484.jpg
    310.9 KB · Views: 18
Top