Rustbucket79
Newbie
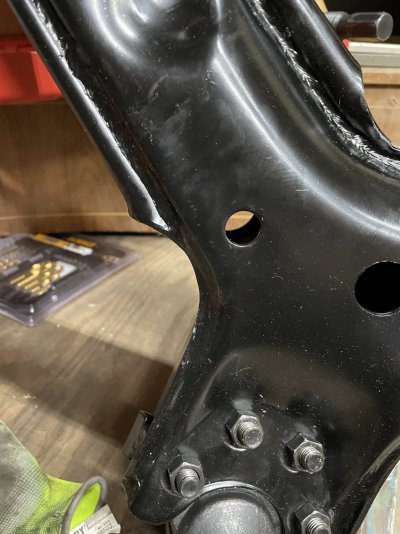
No need to cut any bolts, the video above seems to do it since it collides with the drive axle? Mine didnt do that.im still lost/ confused on how yall took off the lca without taking off both torsion bars
Best one, if rust is not an issue:
Drop the LCA to remove tension (remove everything and let it drop toward the ground).
Knock the bar forward.
Then remove the LCA with the bar still inside the LCA.
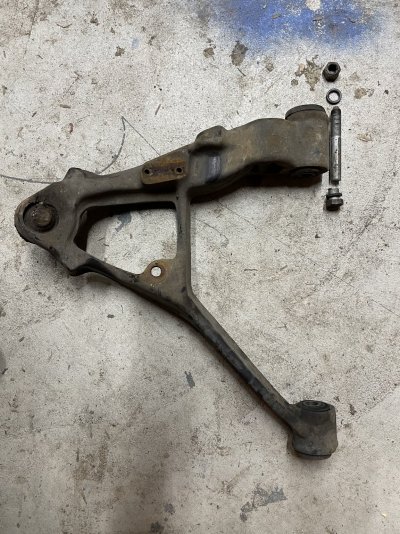
My bars was stuck inside the LCA, so I unscrewed the LCA with the bar still attached and then went medieval with a sledge hammer on the LCA trying to move bar and LCA forward.
It is possible to flex the bar enough to move the LCA free from the frame (the same for installation of the new LCA). After a while the bar released from the rear key and I had the LCA+bar loose.
The second side I did I just cut the bar out of the LCA and let the bar hang still attaced to the rear cross member.
But I was replacing the LCA, so significant damage was acceptable..
")