Big Three Upgrade

Disclaimer: Links on this page pointing to Amazon, eBay and other sites may include affiliate code. If you click them and make a purchase, we may earn a small commission.

Stringer

I'm Awesome
Joined
Jan 14, 2022
Messages
104
Reaction score
87
Location
FLORIDA
Hey, I have searched but did not find this topic. I did this upgrade on my gmt800 and noticed a difference all around, bc i think the factory put bare minimal effort in grounding these trucks.

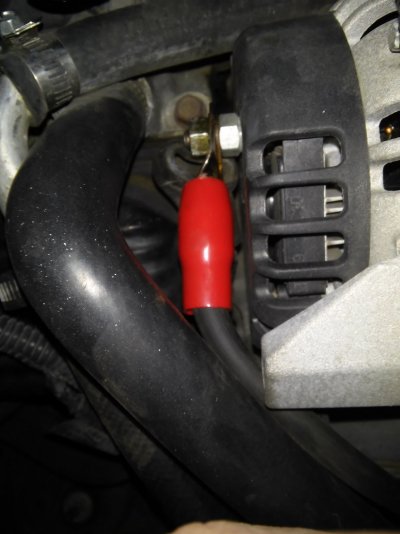
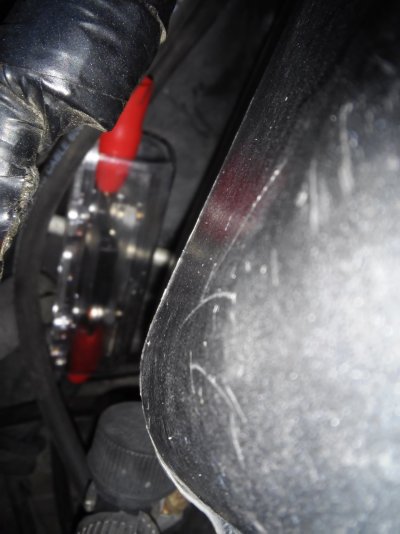
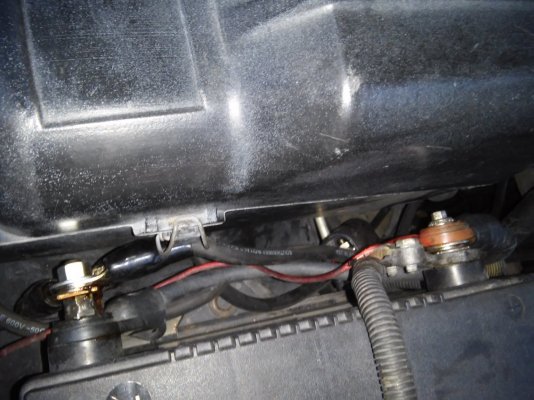
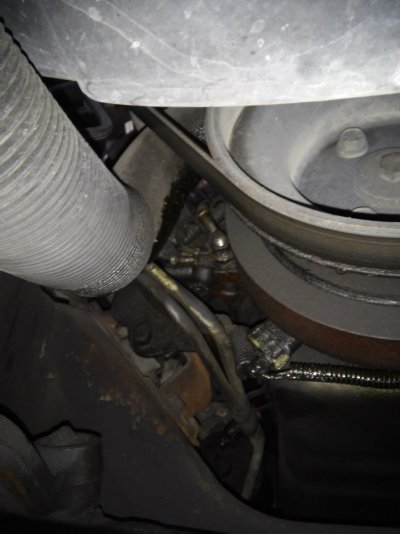
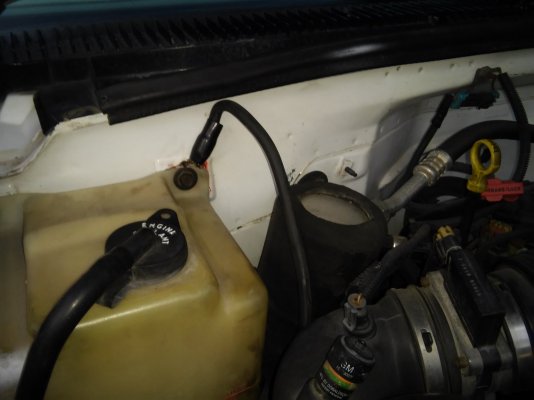
So i've got this 1/0 wire, 1/0 - 3/8 copper lugs, heatshrink, a 300 ANL fuse, wire cutter, and hammer crimper. I plan on cleaning up factory grounds too ... a little grinding/sanding, dieclectric, and spray with black tractor paint. Anyone have knowledge or tips for doing the big three upgrade in a gmt400 before i get started? Thanks!
 

kennythewelder

Officially Retired, B31-3 (6-G) certified welder.
Staff member
Super Moderator
Joined
Jul 14, 2014
Messages
6,519
Reaction score
9,164
Location
Louisiana
Yes, when I did my big 3, I added 2 more grounds. I used #2 welding lead. I am a welder after all, and that was easy for me to get. So, here is what I did.
1 added a wire from the alternator charging lug on the back of the alternator to the battery positive side. This wire is fused with a big 125 amp fuse, 8n a fuse holder, and I have 2 spair fuses in the glove box.
2 added a ground wire from the alternator case to the negitive post on the battery.
3 added a ground from the negative post to the engine block, next to the hormonic balancer, on the engine block, where the OE ground is.
4 added a ground from the battery to the frame of the truck by the upper control arm on the passengers side and
5 added a ground from the battery negative to the cab of the truck where the radiator overflow bottle is bolter to the fire wall.
All of this did help. The first thing I noticed, was how much faster my windshield wipers were. I did the upgrade because I did an electric fan swap. I wanted the alternator to charge quicker at low RPMs. All of my connections are copper lugs that are smashed to pinch the welding lead. For the battery, I welded 2- 3/8 blots, back to back, so I could screw this into the side post, and have a stud sticking out to add extra wires to the connections. I have seen these for sale on e-bay I think. My truck has been like this for a long time with no issues. I have since, replaced that overflow bottle, and moved that extra ground wire, to the other bolt on the fender side of the bottle.
 

Attachments

  • 20170811_194023.jpg
    20170811_194023.jpg
    168.4 KB · Views: 159
  • 20170811_194003.jpg
    20170811_194003.jpg
    179.6 KB · Views: 157
  • 20170811_193913.jpg
    20170811_193913.jpg
    281.8 KB · Views: 156
  • 20170811_194127.jpg
    20170811_194127.jpg
    156.9 KB · Views: 154
  • 20170811_193854.jpg
    20170811_193854.jpg
    137.5 KB · Views: 156

Dnytro

OBS Enthusiast
Joined
Nov 17, 2021
Messages
73
Reaction score
68
Location
Cali
The kit on here looks really well put together too. But if u have the time and the tools, you can easily do it yourself
 

PlayingWithTBI

2022 Truck of the Year
Supporting Member
Joined
Jan 3, 2019
Messages
9,660
Reaction score
14,986
Location
Tonopah, AZ

Caman96

OEM Baby!
Supporting Member
Joined
Jul 17, 2020
Messages
6,873
Reaction score
13,322
Location
The Hub
Yeah I could easily do it. “Sometimes” in the end it’s cheaper and just easier to just buy. Probably not in this case BUT these type of things are always more involved and expensive than you first expect!
 

kennythewelder

Officially Retired, B31-3 (6-G) certified welder.
Staff member
Super Moderator
Joined
Jul 14, 2014
Messages
6,519
Reaction score
9,164
Location
Louisiana
It was easy for me. I have access to what I need to get something like this done. For the connectors, you can buy them on e-bay, although I did make mine.
 
Top