alignman88
I'm Awesome
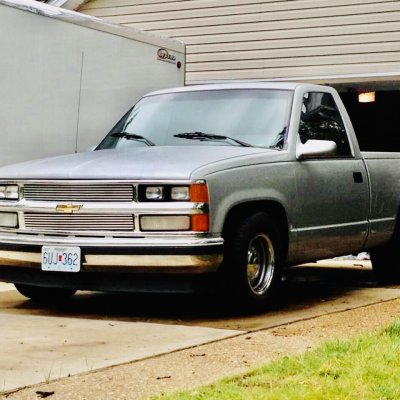
Finally getting around to a build thread on my ‘88 regular cab Silverado. I’ve owned since 2000 and purchased it in Northwest Arkansas from original owner to be used for one business, then pressed into full time duties in a second business. Feels like everyone that either worked with me or knew me was helped by this old girl. Stolen and recovered while living in Memphis, it came with me to St. Louis as a family member. Got started on rebuild in 2020 but knee surgery in ‘20 and fought MRSA staph infection following summer of 2021 it’s been cursed with delays.
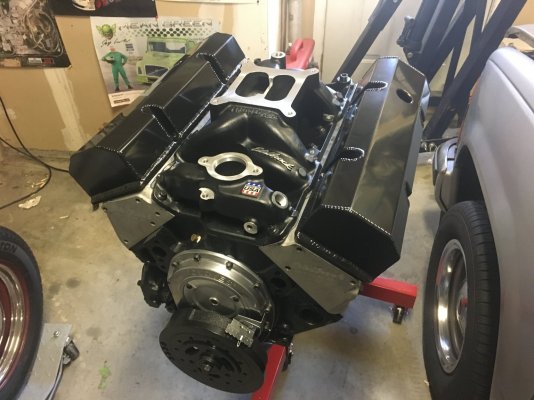
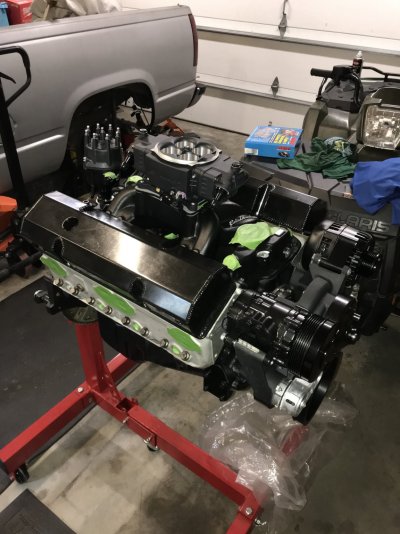
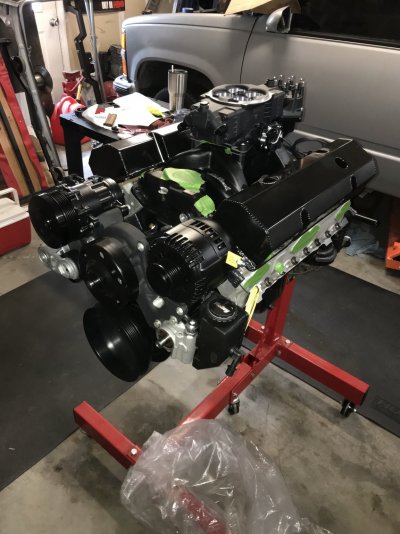
Got crackin on it summer of 2020. Had a complete 383 sitting for 6-7 years so I used that as a starting point. Had the engine torn apart, freshened and upgraded to hydraulic roller valve train to maximize the HP potential of the cylinder heads. Now it is 388 cubic inches bored .060” Scat rotating assembly, KB 10:1 pistons, Edelbrock Performer 195cc heads, Edelbrock Rolling Thunder #2201 hyd. roller cam and valve springs, Performer RPM air gap intake, and Holley Sniper Stealth EFI and Hyperspark ignition. Got the new Holley mid-mount accessory system and its worth every penny; 150 amp alternator, steering pump and AC compressor (C6 Vette stuff) looks and fits great! Went with fabricated aluminum valve covers, they required the thicker gaskets to clear intake and turned out killer looking. I call it the Darth Vader look. On paper it matches specs of the 435 HP Edelbrock crate engine, somewhat limited by the intake runner size of the heads, but it’s what I had sitting around so saved $$$.
Got crackin on it summer of 2020. Had a complete 383 sitting for 6-7 years so I used that as a starting point. Had the engine torn apart, freshened and upgraded to hydraulic roller valve train to maximize the HP potential of the cylinder heads. Now it is 388 cubic inches bored .060” Scat rotating assembly, KB 10:1 pistons, Edelbrock Performer 195cc heads, Edelbrock Rolling Thunder #2201 hyd. roller cam and valve springs, Performer RPM air gap intake, and Holley Sniper Stealth EFI and Hyperspark ignition. Got the new Holley mid-mount accessory system and its worth every penny; 150 amp alternator, steering pump and AC compressor (C6 Vette stuff) looks and fits great! Went with fabricated aluminum valve covers, they required the thicker gaskets to clear intake and turned out killer looking. I call it the Darth Vader look. On paper it matches specs of the 435 HP Edelbrock crate engine, somewhat limited by the intake runner size of the heads, but it’s what I had sitting around so saved $$$.
Attachments
Last edited: